Your landlord is going to walk through that empty apartment with a checklist and a critical eye. Every grease splatter behind the stove, every soap scum ring in the bathtub, and every scuff mark on the baseboards could chip away at your security deposit. Deep cleaning before moving out is the single most effective thing you can do to protect that money.
The difference between a quick wipe-down and a proper deep clean? Hundreds of dollars. The average security deposit in the U.S. sits between $1,000 and $2,000, and cleaning-related deductions are the number one reason tenants lose part of that deposit. This guide walks you through every room, every surface, and every overlooked spot so you can hand back those keys with confidence.
Key Takeaways
- Start 3 to 5 days before your move-out date — rushing a deep clean leads to missed spots that cost you deposit deductions.
- Work top to bottom, back to front in every room — this prevents dust and drips from re-contaminating already-cleaned surfaces.
- Kitchens and bathrooms take the longest — budget 60% of your total cleaning time for these two areas alone.
- Document everything with timestamped photos — photographic proof protects you if your landlord disputes the condition of the unit.
- Professional cleaning costs $200 to $450 for a standard apartment — weigh this against the value of your security deposit and your available time.
- Check your lease for specific cleaning requirements — some leases mandate professional carpet cleaning or specific tasks regardless of condition.
What Does Deep Cleaning Before Moving Out Actually Mean?
Quick Answer: Move-out deep cleaning means cleaning every surface, fixture, and appliance in a rental unit to return it to its original move-in condition, minus normal wear and tear. It goes far beyond routine tidying and targets buildup that accumulates over months or years of living.
Regular cleaning maintains livable conditions. You wipe counters, vacuum floors, and scrub the toilet. Move-out deep cleaning is a different beast entirely. You’re cleaning surfaces you probably haven’t touched since you moved in: the top of the refrigerator, inside the oven, behind the toilet, the tracks of sliding closet doors.
The standard most landlords apply is “broom-clean condition.” This means the unit should be free of personal belongings, debris, and accumulated grime. It does not need to look brand new. Normal wear and tear, which includes minor scuffs on walls, slight carpet wear in high-traffic areas, and small nail holes, is expected and not deductible.
Normal Wear and Tear vs. Cleaning Damage
Understanding this distinction saves you from cleaning things that aren’t your responsibility. It also helps you focus your energy on what landlords actually deduct for.
| Item | Normal Wear and Tear (Not Your Problem) | Cleaning Issue (Your Responsibility) |
|---|---|---|
| Walls | Small nail holes, slight fading from sunlight | Crayon marks, large scuffs, sticker residue, grease stains |
| Carpet | Slight matting in high-traffic paths | Stains from spills, pet odor, ground-in dirt |
| Oven/Stove | Minor discoloration on burner drip pans | Baked-on grease, food debris, clogged burner ports |
| Bathtub | Minor finish dulling from years of use | Soap scum rings, mildew, hard water deposits |
| Windows | Minor seal condensation | Dirty glass, grimy tracks, torn screens you caused |
| Blinds | Slight warping from sun exposure | Dust buildup, grease film, stains |
How Far in Advance Should You Start Your Move-Out Deep Clean?
Quick Answer: Start your deep clean 3 to 5 days before your move-out date. This gives you time to tackle tough buildup, let cleaning solutions soak on stubborn stains, and revisit areas you missed without panicking on your final day.
Trying to deep clean an entire apartment in one day is a recipe for exhaustion and missed spots. Your landlord will notice that baked-on grease ring you ran out of time to scrub.
Here’s a realistic timeline for a standard one or two bedroom apartment:
Suggested Deep Cleaning Timeline
- Day 1: Kitchen — Apply oven cleaner, degrease range hood, clean inside all cabinets and drawers, scrub counters and backsplash, clean appliance interiors.
- Day 2: Bathrooms — Descale fixtures, scrub grout, clean inside medicine cabinets, treat mildew, polish mirrors and glass.
- Day 3: Bedrooms and living areas — Clean closet interiors, wipe baseboards, clean light fixtures and switch plates, spot-treat walls.
- Day 4: Floors, windows, and final details — Vacuum and mop all floors, clean window glass and tracks, wipe door frames, clean entryway.
- Day 5: Final walkthrough and touch-ups — Revisit every room with fresh eyes, photograph everything, address anything you missed.
What Cleaning Supplies Do You Need for a Move-Out Deep Clean?

Quick Answer: You need an all-purpose cleaner, degreaser, bathroom descaler, glass cleaner, baking soda, white vinegar, microfiber cloths, a scrub brush, a mop, a vacuum, and a magic eraser. Budget $30 to $60 for supplies if you’re starting from scratch.
Using the right product for each surface cuts your scrubbing time dramatically. A degreaser does in five minutes what dish soap and elbow grease take thirty minutes to accomplish.
Essential Move-Out Cleaning Supply List
| Supply | Primary Use | Approximate Cost |
|---|---|---|
| All-purpose cleaner (e.g., Fabuloso, Mr. Clean) | Counters, cabinets, general surfaces | $3 to $6 |
| Heavy-duty degreaser (e.g., Krud Kutter, ZEP) | Range hood, oven exterior, stove grates | $5 to $10 |
| Oven cleaner (e.g., Easy-Off) | Oven interior, baked-on residue | $4 to $7 |
| Bathroom descaler (e.g., CLR, Lime-A-Way) | Hard water stains, faucet buildup, showerheads | $5 to $8 |
| White distilled vinegar | Glass, mineral deposits, deodorizing | $2 to $4 |
| Baking soda | Scrubbing paste, grout cleaning, deodorizing | $1 to $3 |
| Magic eraser (melamine sponge) | Wall scuffs, baseboard marks, light switch plates | $3 to $6 (pack of 4) |
| Microfiber cloths (pack of 10+) | Streak-free wiping on all surfaces | $5 to $10 |
Skip the paper towels for most tasks. Microfiber cloths clean better, leave no lint, and work on glass without streaking. Use paper towels only for truly gross jobs you don’t want touching your reusable cloths.
How Do You Deep Clean a Kitchen Before Moving Out?

Quick Answer: Start with the oven and range hood since they need soak time. Then clean inside all cabinets and drawers, scrub counters and backsplash, wipe down appliance exteriors and interiors, and finish with the floor. Budget 3 to 5 hours for a standard kitchen.
The kitchen is the room that costs tenants the most deposit money. Grease builds up in places you never see during daily life, and landlords know exactly where to look.
Oven and Stovetop
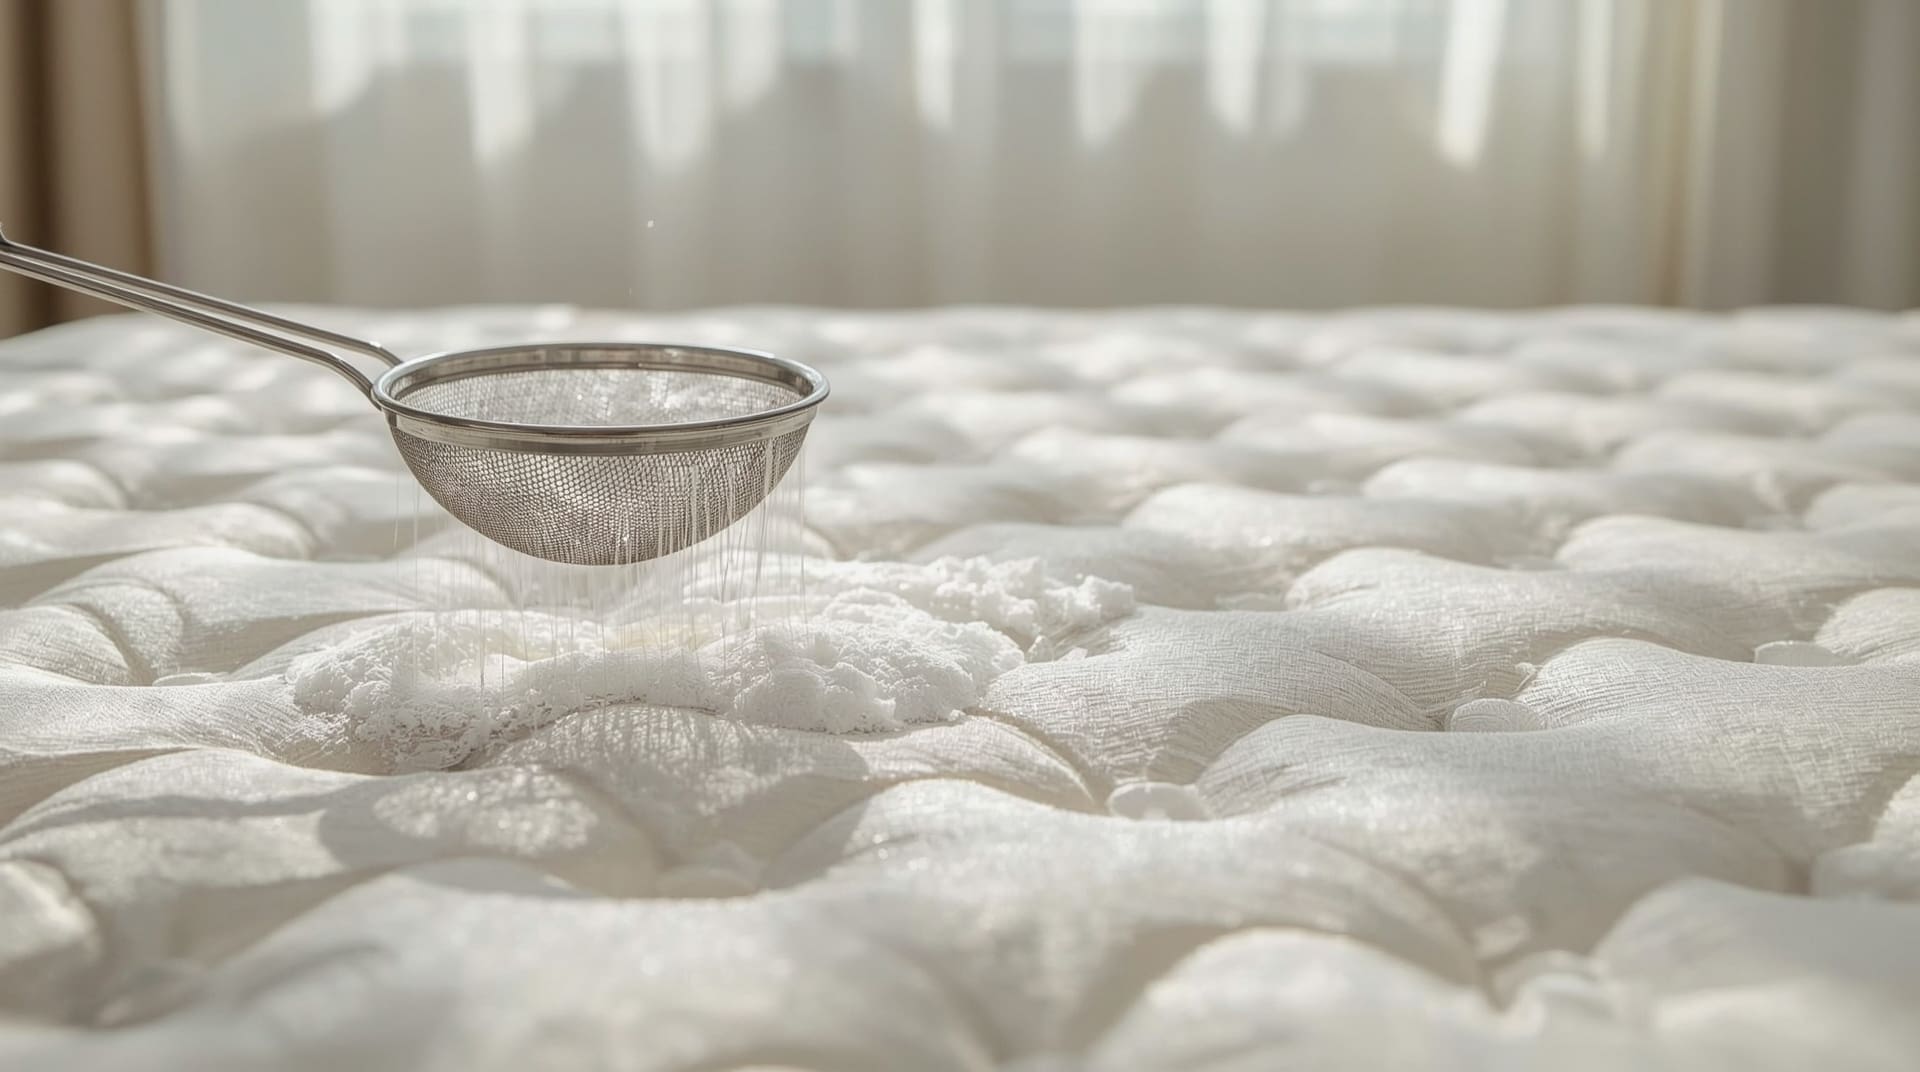
Spray the oven interior with oven cleaner the night before you plan to clean the kitchen. This overnight soak loosens baked-on grease that would otherwise require brutal scrubbing. In the morning, wipe it out with damp cloths. For cleaning your oven thoroughly, remove the racks and soak them in hot soapy water in the bathtub while the cleaner works.
For the stovetop, remove burner grates and drip pans. Soak grates in a sink full of hot water and degreaser for 30 minutes. Scrub drip pans with baking soda paste. Wipe the stovetop surface with degreaser, paying attention to the area around each burner where food splatters collect.
Range Hood and Exhaust Fan
The range hood filter is probably caked with grease. Remove it and soak it in a solution of boiling water and dish soap for 15 minutes. If the grease doesn’t dissolve, add a tablespoon of baking soda to the water. Wipe the hood exterior and underside with degreaser.
Refrigerator
Remove all shelves and drawers. Wash them in warm soapy water. Wipe the interior with a solution of two tablespoons of baking soda dissolved in one quart of warm water. This cleans and deodorizes at the same time. Pull the refrigerator away from the wall and sweep or vacuum the floor behind it. Clean the top of the fridge, which is likely coated in dust and grease film.
Dishwasher
Remove the bottom rack and clean the drain trap. Run an empty cycle with a cup of white vinegar placed upright on the top rack. Wipe the door seal with an all-purpose cleaner, paying attention to the rubber gasket where mold likes to hide.
Cabinets, Drawers, and Countertops
Open every cabinet and drawer. Wipe down the interior surfaces. Crumbs, spice dust, and sticky residue accumulate in corners. Use a damp microfiber cloth with all-purpose cleaner. Don’t forget the cabinet exteriors near the stove, which collect an invisible grease film. Clean the backsplash tile or surface from top to bottom.
Kitchen Sink
Scrub the basin with baking soda and a soft brush. Clean the faucet and handles with a descaler if there’s mineral buildup. Run the garbage disposal with ice cubes and a lemon slice to clean the blades and eliminate odors.
What’s the Best Way to Deep Clean Bathrooms Before Moving Out?
Quick Answer: Apply descaler to shower glass, faucets, and showerheads first so they soak while you clean other surfaces. Scrub the toilet inside and out, clean grout with a baking soda paste, wipe the vanity interior, and finish with the floor. Budget 2 to 3 hours per bathroom.
Bathrooms are the second most scrutinized area during a move-out inspection. Mildew, hard water stains, and soap scum are the three culprits landlords flag most.
Shower and Bathtub
Spray the entire shower interior, including walls, doors, and the tub surface, with bathroom cleaner or a 50/50 vinegar-water solution. Let it sit for 10 to 15 minutes. Scrub with a non-scratch pad in circular motions. For removing hard water stains on glass doors, use a commercial descaler like CLR or a paste of baking soda and vinegar.
Clean the showerhead by filling a plastic bag with white vinegar and tying it around the showerhead. Let it soak for one hour. The vinegar dissolves mineral deposits that clog the spray holes.
Toilet
Apply toilet bowl cleaner under the rim and let it drip down while you clean the exterior. Scrub the exterior from top to bottom: tank, handle, lid (top and bottom), seat (top and bottom), base, and the floor around the base. Use a toilet brush on the bowl interior, paying attention to the waterline and under the rim. Clean behind the toilet where dust and hair collect.
Grout and Tile
Mix baking soda with water into a thick paste. Apply it to grout lines with an old toothbrush. Spray white vinegar over the paste and let it fizz for five minutes. Scrub in small sections. For severe mildew in grout, use a grout-specific cleaner with bleach. Rinse thoroughly.
Vanity, Mirror, and Medicine Cabinet
Empty the medicine cabinet and wipe all shelves. Clean the mirror with glass cleaner or a vinegar-water solution. Wipe the vanity top, including around the faucet base where toothpaste and soap residue build up. Clean inside the vanity cabinet and check for water damage you should document.
Bathroom Exhaust Fan
Remove the exhaust fan cover and soak it in warm soapy water. Vacuum the fan blades with a crevice attachment. This takes five minutes but shows attention to detail that landlords notice.
How Do You Clean Floors, Carpets, and Baseboards for Move-Out?
Quick Answer: Vacuum all carpets thoroughly and treat visible stains with carpet stain removal products. Mop hard floors with a floor-appropriate cleaner. Wipe all baseboards with a damp cloth. Budget 1 to 2 hours total depending on apartment size.
Floors show your cleaning effort immediately. A sparkling kitchen with grimy floors sends a mixed signal.
Carpeted Areas
Vacuum every carpeted room twice: once in one direction, then again perpendicular to your first pass. This lifts more embedded dirt than a single pass. Treat visible stains with a carpet spot cleaner and a clean white cloth. Blot stains from the outside in to prevent spreading.
Check your lease for carpet cleaning requirements. Some leases require professional carpet cleaning regardless of condition. If yours does, book the service for the day before your move-out date and keep the receipt as proof. Professional carpet cleaning runs $75 to $200 for a standard apartment.
Hard Floors (Tile, Laminate, Vinyl, Hardwood)
Sweep or vacuum first to remove debris. Mop with a product appropriate for your floor type. Avoid excess water on laminate and hardwood, which can cause warping. Use a damp mop, not a soaking one. Pay attention to corners and edges where mop heads often miss.
Baseboards
Baseboards collect dust, hair, and scuff marks throughout an entire tenancy. Wipe them with a damp microfiber cloth and all-purpose cleaner. Use a magic eraser on dark scuff marks. Work your way around every room. This is one of the most commonly missed move-out tasks and one of the easiest deductions for landlords to justify.
What About Walls, Doors, and Light Fixtures?
Quick Answer: Spot-clean wall scuffs with a magic eraser, wipe down all doors and door frames, dust and clean light fixtures and ceiling fan blades, and clean all switch plates and outlet covers. These details take 1 to 2 hours but prevent nickel-and-dime deductions.
Walls
You don’t need to wash every wall from floor to ceiling. Focus on visible marks: scuffs, handprints near light switches, food splatters near the dining area, and marks in hallways. A damp magic eraser removes most scuffs from painted walls. For cleaning walls without removing paint, test any cleaning product on a hidden spot first, especially on flat or matte paint which scuffs easily.
Remove any nails or picture-hanging hardware you installed. Small nail holes from normal hanging typically qualify as wear and tear. Large holes or anchors may need spackle and touch-up paint. Check your lease for specifics.
Doors and Door Frames
Wipe all door surfaces with a damp cloth. Clean both sides of every door, including the edges. Door frames collect surprisingly thick dust on the top edge. Run a damp cloth along the top of every door frame in the apartment.
Light Fixtures, Ceiling Fans, and Switch Plates
Remove light fixture covers where possible and wash them in warm soapy water. Wipe ceiling fan blades with a damp cloth. (Use a pillowcase over each blade to catch falling dust.) Clean every light switch plate and outlet cover with all-purpose cleaner. Replace any burned-out light bulbs.
Which Overlooked Areas Cause the Most Deposit Deductions?

Quick Answer: Window tracks, closet interiors, inside the dishwasher, the top of the refrigerator, behind the toilet, and the range hood filter are the six most commonly missed areas. Each one takes only minutes to clean but can cost $25 to $75 in deductions.
Landlords and property managers have seen hundreds of move-outs. They know where tenants skip. Cleaning these spots signals that you took the job seriously.
The Most Commonly Missed Move-Out Cleaning Spots
| Overlooked Area | Why It Gets Missed | Estimated Cleaning Time | Potential Deduction Cost |
|---|---|---|---|
| Window tracks and sills | Hidden by blinds, rarely visible daily | 5 to 10 minutes per window | $25 to $50 |
| Inside closet shelves and rods | Covered by belongings until move-out day | 5 minutes per closet | $20 to $40 |
| Top of refrigerator | Out of sight line for most people | 5 minutes | $25 to $50 |
| Range hood filter | Tenants forget it’s removable | 15 minutes (soak included) | $30 to $75 |
| Behind and beside the toilet | Awkward to reach, easy to ignore | 5 minutes | $25 to $40 |
| Dishwasher interior and drain | People assume it cleans itself | 15 minutes | $30 to $60 |
| Garage or storage area | Focus stays on main living areas | 15 to 30 minutes | $50 to $100 |
Window Tracks
Sprinkle baking soda into the tracks. Spray white vinegar over it and let the mixture fizz for a few minutes. Use an old toothbrush to scrub loosened grime. Wipe clean with a damp cloth. Repeat until the cloth comes away clean.
Closet Interiors
Wipe all shelves, the hanging rod, and the floor of every closet. Clean the closet door tracks if you have sliding doors. Dust and cobwebs in closets are common deduction triggers.
Should You Hire a Professional Cleaning Service Instead?
Quick Answer: Hiring a professional cleaning service makes sense if your deposit exceeds the cleaning cost, if you’re short on time, or if you have specific lease requirements like professional carpet cleaning. Average costs run $200 to $450 for a standard apartment.
There’s no shame in outsourcing this job. For many tenants, hiring a professional cleaning service is a smart financial decision when the deposit at stake is $1,500 and the cleaning quote is $300.
DIY vs. Professional Move-Out Cleaning
| Factor | DIY Deep Clean | Professional Service |
|---|---|---|
| Cost | $30 to $60 in supplies | $200 to $450 (1 to 2 bed apartment) |
| Time Investment | 10 to 20 hours over 3 to 5 days | 3 to 6 hours (their team handles it) |
| Quality Consistency | Depends on your experience and effort | Typically high; many offer deposit-back guarantees |
| Documentation | You take your own photos | Many provide completion checklists |
| Lease Compliance | May not satisfy “professional cleaning” clauses | Receipt satisfies lease requirements |
If you choose professional cleaning, book at least two weeks in advance. Move-out season (late spring through early fall) fills up fast. Ask specifically for a “move-out deep clean” so the company knows the scope. Get a written quote and confirm what’s included.
How Do You Document Your Cleaning for Deposit Protection?

Quick Answer: Take timestamped photos and video of every room, every appliance interior, the oven, the toilet, and any areas you repaired. Store these files somewhere permanent. This evidence protects you if your landlord claims the unit wasn’t properly cleaned.
Your cleaning work means nothing without proof. Tenants lose deposit disputes every day because they have no evidence of the condition they left the unit in.
Documentation Best Practices
- Photograph every room from multiple angles — wide shots and close-ups of key surfaces.
- Open cabinets and appliances for photos — show the inside of the oven, refrigerator, and under the sink.
- Capture details landlords check — baseboards, window tracks, grout, light fixtures, closet interiors.
- Record a slow walkthrough video — narrate what you cleaned and pan across each room.
- Use your phone’s timestamp — make sure the date and time show in the photo metadata.
- Email the photos to yourself — this creates a permanent, dated record you can reference later.
- Save your cleaning receipts — whether supplies or professional services, keep proof of your investment.
In most states, landlords have 14 to 30 days to return your deposit with an itemized list of deductions. If you disagree with a deduction, your photos become your primary evidence in a small claims dispute.
What Cleaning Tasks Does Your Lease Actually Require?
Quick Answer: Your lease may include specific cleaning requirements like professional carpet cleaning, professional house cleaning, or returning the unit in “broom-clean condition.” Read your lease carefully because these clauses override general standards and create enforceable obligations.
Before you start scrubbing, pull out your lease and look for cleaning-related clauses. Common requirements include:
- Professional carpet cleaning with receipt — required regardless of carpet condition in many leases.
- All holes patched and walls touched up — some leases require this even for small nail holes.
- Appliances returned clean inside and out — oven, refrigerator, dishwasher, microwave.
- Blinds and window coverings cleaned or replaced — damaged blinds may need replacement, not just cleaning.
- All personal items removed including from storage areas — garages, balconies, and assigned storage units.
If your lease has a specific move-out cleaning checklist, follow it item by item. Landlords can deduct for anything on that list that isn’t completed, even if the unit looks clean overall.
What Order Should You Clean Each Room For Maximum Efficiency?
Quick Answer: Clean from the top of each room to the bottom and from the back of the apartment to the front door. Start with the kitchen, then bathrooms, then bedrooms and living areas, and finish with entryways and floors. This prevents re-contaminating clean areas.
The physics of cleaning is simple: dirt falls down. If you mop the floor before you dust the ceiling fan, you’ll mop again. If you clean the entryway first, you’ll track through it all day.
Room-by-Room Cleaning Order
- Kitchen — most time-intensive, benefits from early soak time on oven and grease buildup.
- Bathrooms — second most intensive, descaler needs soak time on fixtures and tile.
- Bedrooms — closets, walls, baseboards, light fixtures, windows.
- Living areas — same scope as bedrooms plus any additional fixtures or built-ins.
- Hallways and entryway — door frames, light switches, coat closets.
- All floors — vacuum and mop every floor last, after all other work is done.
- Final walkthrough — fresh eyes catch what tired eyes missed.
Within Each Room: The Top-to-Bottom Rule
In every single room, follow this sequence: ceiling fixtures and fans first, then walls and windows, then counters and surfaces, then cabinets and drawers, then appliances, then baseboards, then the floor. This order ensures dust and drips always fall onto surfaces you haven’t cleaned yet.
How Long Does a Complete Move-Out Deep Clean Take?
Quick Answer: A thorough move-out deep clean takes 10 to 20 hours for a one to two bedroom apartment when done by one person. A studio may take 6 to 10 hours. Three bedroom units or larger can take 20 to 30 hours. These estimates assume moderate buildup and no major damage.
These numbers surprise most people. Deep cleaning takes dramatically longer than routine cleaning because you’re addressing months or years of accumulation in areas you’ve never cleaned before.
Time Estimates by Room
| Room / Area | Estimated Time (One Person) | Key Time Sinks |
|---|---|---|
| Kitchen | 3 to 5 hours | Oven, range hood, refrigerator interior, cabinet interiors |
| Bathroom (each) | 2 to 3 hours | Grout scrubbing, descaling, exhaust fan |
| Bedroom (each) | 1 to 2 hours | Closet cleaning, baseboards, wall spot-treatment |
| Living room | 1 to 2 hours | Baseboards, light fixtures, window tracks |
| All floors | 1 to 2 hours | Carpet stain treatment, mopping, edging |
| Final details and walkthrough | 1 hour | Touch-ups, photography, documentation |
Recruit help if you can. Two people working together can finish in roughly 60% of the solo time because you can divide rooms and work in parallel.
What Mistakes Should You Avoid During a Move-Out Deep Clean?
Quick Answer: The biggest mistakes are starting too late, cleaning floors before upper surfaces, using the wrong products on delicate surfaces, forgetting to check your lease, skipping documentation, and ignoring inside appliances and closets. Each mistake either wastes time or costs money.
Common Move-Out Cleaning Mistakes
- Cleaning with belongings still in the unit — you can’t clean behind or under furniture that’s still there. Move everything out first.
- Using abrasive cleaners on stainless steel or glass cooktops — scratches count as damage, not wear and tear. Use non-scratch pads and appropriate cleaners.
- Ignoring the move-out cleaning checklist in your lease — if the lease says “professional cleaning required,” your DIY work may not satisfy the requirement.
- Skipping the final walkthrough with your landlord — a joint walkthrough lets you address concerns on the spot before they become deductions.
- Throwing away cleaning receipts — these are evidence if you need to dispute deductions later.
- Leaving cleaning products behind — any items left in the unit can be charged as a disposal fee.
Frequently Asked Questions
Can a landlord charge for cleaning if I already cleaned?
Yes, if the landlord determines the cleaning doesn’t meet the standard outlined in your lease. This is why documentation matters. Timestamped photos of your cleaning work serve as evidence if you need to dispute the charge through your state’s tenant protection process.
Do I need to clean if I’m breaking my lease early?
Yes. Breaking your lease doesn’t eliminate your obligation to return the unit in clean condition. Your landlord can deduct cleaning costs from your security deposit regardless of why or when you’re leaving. Some early termination clauses add fees on top of cleaning deductions.
Is it worth paying for a move-out cleaning guarantee?
Many professional cleaning companies offer a deposit-back guarantee, meaning they’ll re-clean any area the landlord flags. This guarantee typically adds $50 to $100 to the total cost. If your deposit is $1,000 or more, the guarantee is usually worth the added peace of mind.
What if there’s damage I didn’t cause?
Document pre-existing damage with your original move-in inspection report and photos. If you didn’t complete a move-in inspection, you have limited recourse. For future rentals, always photograph every surface during move-in and email those photos to your landlord for a dated record.
Should I repaint walls before moving out?
Only if your lease requires it or if the walls have damage beyond normal wear and tear. In most states, landlords cannot charge you for repainting if the paint simply aged or faded during normal tenancy. However, bright accent walls you painted or significant staining may require touch-up or repainting at your expense.
How soon after I move out does the landlord inspect?
Most landlords inspect within 1 to 3 days after you return the keys. State laws typically give landlords 14 to 30 days to return the deposit with an itemized deduction list. California allows 21 days. Texas has 30 days. Check your state’s specific landlord-tenant statute for the exact timeline.