Dirty walls are one of those things you stop noticing until guests come over — or until you’re about to move out. Scuff marks, greasy fingerprints, crayon streaks, and general grime build up slowly. The problem is that cleaning walls the wrong way removes paint right along with the dirt.
This guide covers exactly how to clean walls without removing paint. You’ll learn which methods work for flat, eggshell, and semi-gloss finishes, which tools and cleaners are safe, and how to avoid the most common mistakes that leave you with patchy, streaked, or peeling walls.
Key Takeaways
- Paint finish determines your cleaning method — flat paint needs the gentlest touch, while semi-gloss handles moderate scrubbing.
- Always test in a hidden spot first — any cleaner, even plain water, can affect some paint formulas.
- Wring out your sponge completely — excess moisture is one of the leading causes of paint damage and streaking.
- Mild dish soap and warm water handles most stains — you rarely need anything stronger than that.
- Clean from bottom to top, then rinse top to bottom — this prevents dirty drip streaks from running down clean areas.
- Microfiber cloths outperform paper towels and rough sponges — they lift dirt without abrading the paint surface.
What Happens to Paint When You Clean Walls the Wrong Way?
Quick Answer: Scrubbing too hard, using harsh chemicals, or over-wetting the wall breaks down the paint binder — the glue that holds pigment to the surface. This causes paint to fade, peel, or rub off in patches, especially on flat and matte finishes.
Paint is made of three main components: pigment (the color), a binder (the adhesive resin), and a carrier (usually water or solvent). The binder is what keeps paint stuck to your wall. Aggressive cleaning attacks the binder.
Abrasive sponges scratch the surface layer of the paint film. Strong alkaline cleaners like undiluted bleach or ammonia-based sprays break down the resin chemically. Too much water softens dried latex paint and causes it to lift or bubble.
The finish type also matters. A glossier finish has a harder, more protective surface layer. Flat and matte paints are more porous and absorb moisture quickly, making them far more vulnerable to damage.
How Does Paint Finish Affect Which Cleaning Method You Should Use?
Quick Answer: Flat and matte finishes are the most fragile — use only a lightly damp cloth with no cleaner. Eggshell tolerates mild soap. Semi-gloss and gloss finishes handle gentle scrubbing and diluted all-purpose cleaners without damage.
Flat and Matte Paint
Flat paint has almost no sheen. It hides surface imperfections well but has virtually no protective coating on top. It’s common on ceilings and in living rooms and bedrooms.
Cleaning flat paint is the highest-risk scenario. Even gentle rubbing can create shiny “burnish marks” where the surface gets polished by friction. Use only a barely damp microfiber cloth, and blot rather than rub. Avoid soap if possible.
Eggshell Paint
Eggshell has a soft, low-luster finish that’s slightly more durable than flat. It’s one of the most common finishes in residential spaces. You can clean it with a mild dish soap solution, but you still need a light hand and a well-wrung sponge.
Satin Paint
Satin sits between eggshell and semi-gloss. It’s popular in kitchens, hallways, and kids’ rooms because it cleans more easily. You can use a diluted all-purpose cleaner with a soft sponge and gentle circular motions.
Semi-Gloss and Gloss Paint
These finishes have the hardest surface and handle the most moisture and friction. They’re standard in bathrooms, kitchens, and on trim. You can scrub lightly with a non-abrasive sponge and a gentle cleaner without much risk of paint damage.
Paint Finish Cleaning Comparison
| Paint Finish | Durability | Safe Cleaner | Safe Tool | Avoid |
|---|---|---|---|---|
| Flat / Matte | Very Low | Plain water only | Microfiber cloth (damp) | Soap, scrubbing, excess moisture |
| Eggshell | Low-Moderate | 1-2 drops dish soap per quart of water | Soft sponge or microfiber | Abrasive pads, undiluted cleaners |
| Satin | Moderate | Diluted all-purpose cleaner | Non-scratch sponge | Steel wool, bleach sprays |
| Semi-Gloss | High | Diluted all-purpose or TSP substitute | Non-abrasive sponge | Steel wool, undiluted bleach |
| High Gloss | Very High | Diluted all-purpose cleaner | Soft cloth or sponge | Abrasive tools, solvent-based cleaners |
What Supplies Do You Need to Clean Walls Safely?
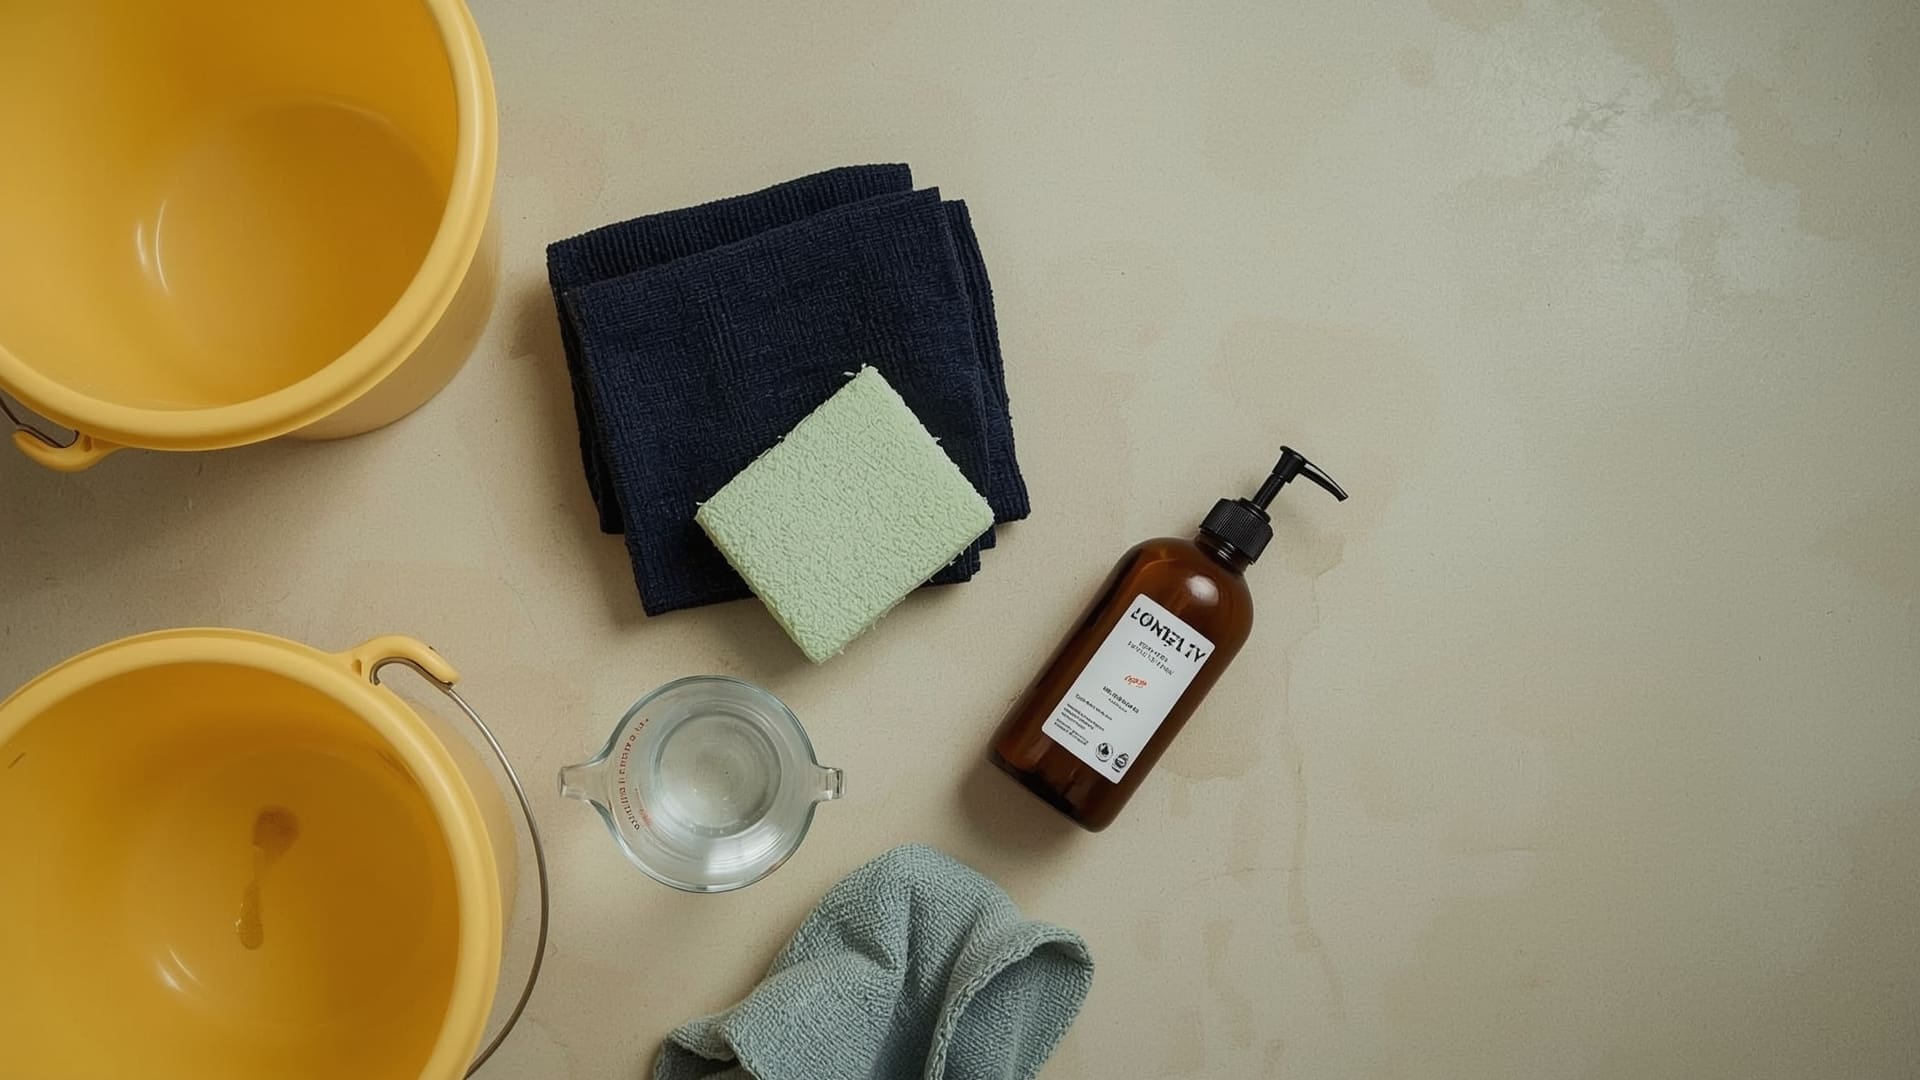
Quick Answer: You need two buckets, a microfiber cloth or non-scratch sponge, mild dish soap, warm water, and a dry towel for patting the wall dry. That kit handles 90% of wall cleaning jobs without risking paint damage.
Safe Cleaning Tools
- Microfiber cloths: The best all-around option. They lift dust and grime without scratching the paint surface.
- Non-scratch cellulose sponges: Good for eggshell and above. Wring them out until almost dry before touching the wall.
- Soft-bristle brush: Useful for textured walls where a cloth can’t reach grooves.
- Two-bucket system: One bucket for your cleaning solution, one for clean rinse water. This prevents spreading dirty water back onto the wall.
- Dry towel or chamois: For blotting the wall dry after rinsing to prevent water damage.
What to Avoid
- Magic erasers (melamine foam): They work by micro-abrasion. They will dull flat and eggshell finishes permanently.
- Rough scrubbing pads or steel wool: These scratch even semi-gloss paint.
- Paper towels: They leave lint and can scratch delicate surfaces.
- Spray bottles aimed directly at the wall: Too much water saturates the surface.
Safe Cleaning Solutions by Job
| Cleaning Task | Recommended Solution | Dilution Ratio | Safe For |
|---|---|---|---|
| General dust and grime | Warm water only | N/A | All finishes |
| Light scuffs and smudges | Dish soap + warm water | 2 drops per 1 quart water | Eggshell and above |
| Greasy kitchen walls | White vinegar + water | 1:3 ratio | Satin, semi-gloss |
| Stubborn stains | Diluted all-purpose cleaner | Per label instructions | Semi-gloss, gloss |
| Mold spots (small areas) | Diluted white vinegar or hydrogen peroxide | 1:1 with water | Satin and above |
How Do You Clean Walls Step by Step Without Damaging the Paint?
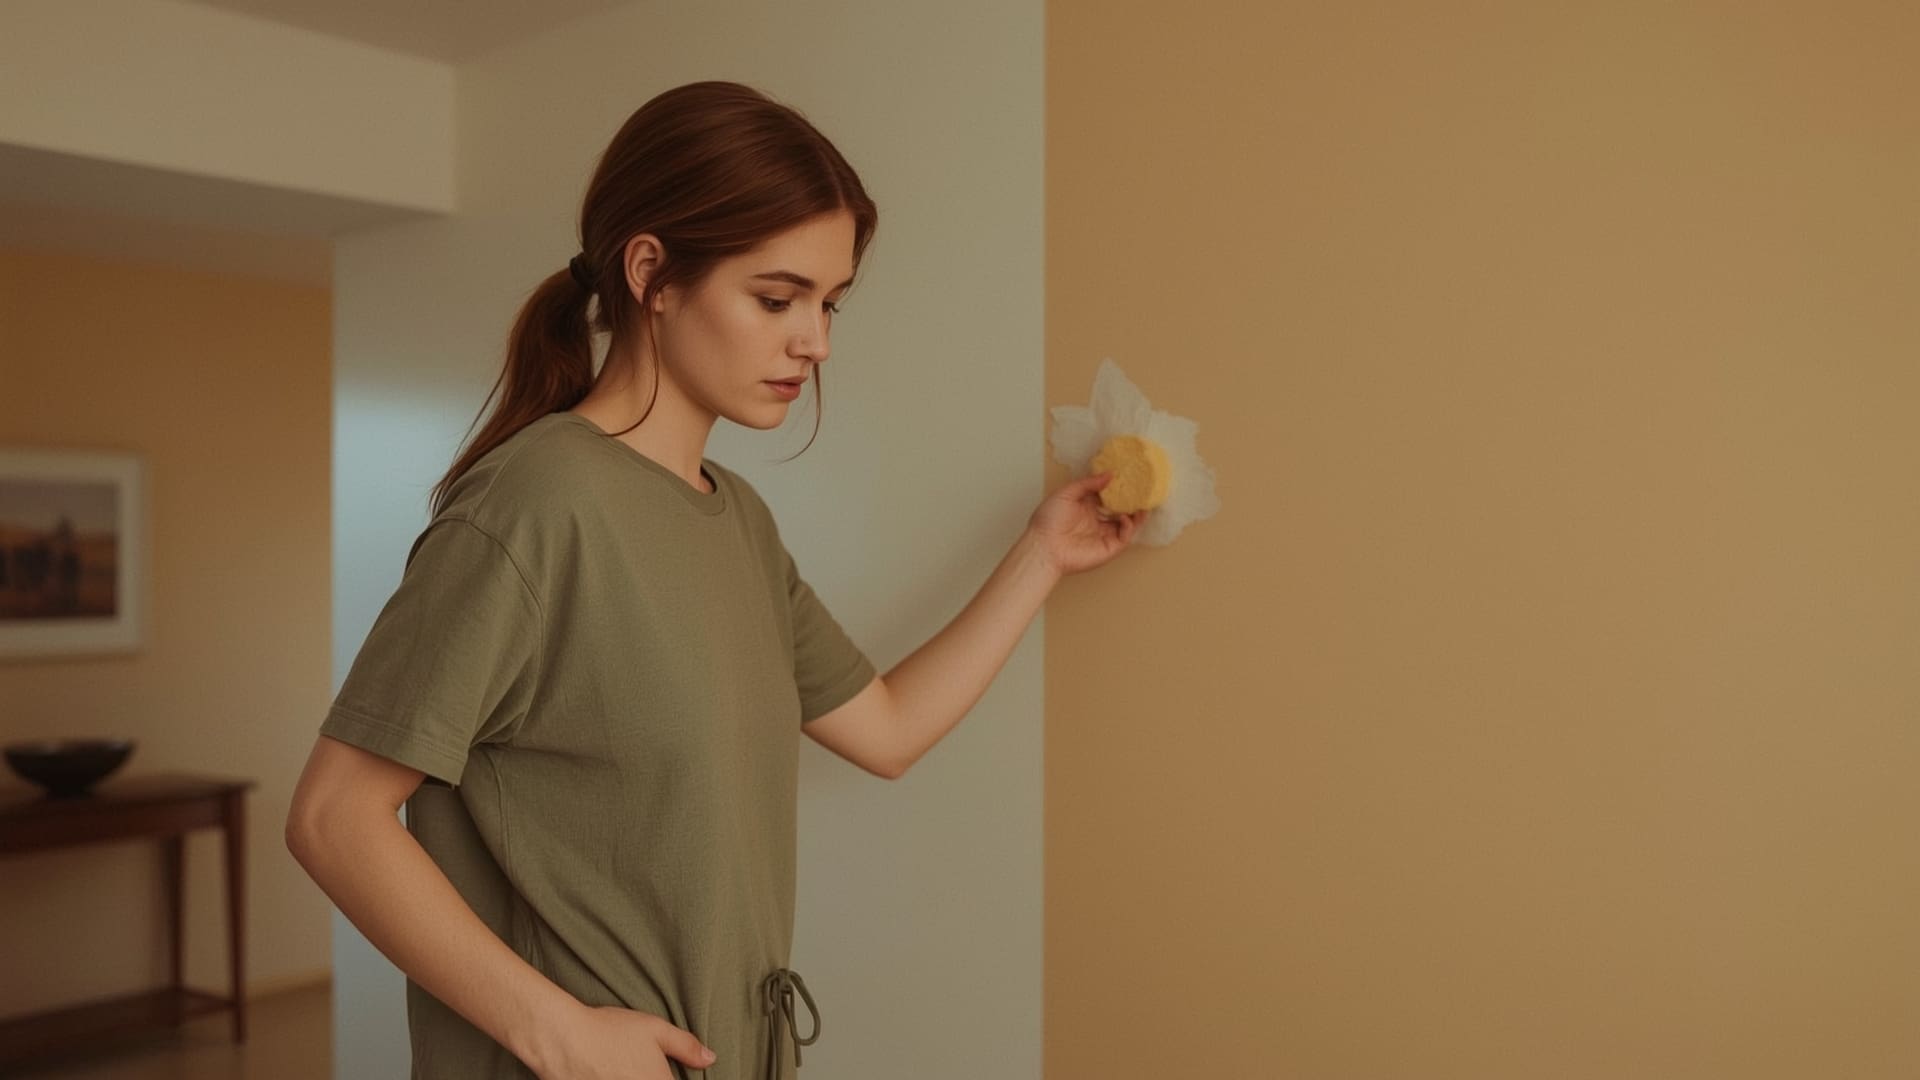
Quick Answer: Dust the wall first, then clean with a barely damp sponge using mild dish soap, working in small sections from bottom to top. Rinse with clean water and pat dry immediately. Never let the wall air-dry wet.
Step 1: Dust the Wall First
Use a dry microfiber cloth or a duster with an extendable handle. Start at the top and work your way down. Cleaning a dusty wall while wet turns dust into muddy streaks. This step takes two minutes and prevents a lot of headaches.
Step 2: Test Your Cleaner in a Hidden Spot
Pick an area behind a door or a piece of furniture. Apply your cleaning solution with a damp cloth and let it sit for 60 seconds. Blot it dry and check for color transfer, dullness, or any surface change. If the paint looks exactly the same, you’re safe to proceed.
Step 3: Mix Your Cleaning Solution
For most walls, fill a bucket with one quart of warm water and add two drops of dish soap. You don’t need more than that. A sudsy solution leaves residue that attracts more dirt over time.
Step 4: Work in Small Sections, Bottom to Top
This sounds counterintuitive, but starting from the bottom prevents cleaning drips from running down dry lower sections and leaving permanent streaks. Clean in a 2×2 foot section at a time. Keep your sponge or cloth wrung out so firmly that it barely feels wet.
Step 5: Use Gentle Circular Motions
Apply light, consistent pressure in small circles. Don’t scrub back and forth in long strokes — this concentrates pressure and is more likely to lift paint. If a stain doesn’t come off with light pressure, re-wet the area and let it dwell for 20 to 30 seconds before trying again.
Step 6: Rinse from Top to Bottom
Use your second bucket with clean water and a fresh cloth. Wipe down the section you just cleaned, this time working from top to bottom. This removes soap residue that would otherwise dry as a dull film on the wall.
Step 7: Pat the Wall Dry
Don’t let the wall air-dry while wet. Gently press a dry towel against the surface to absorb remaining moisture. This step is especially important for flat and eggshell paints, where prolonged moisture contact weakens the paint film.
How Do You Remove Specific Stains From Painted Walls?
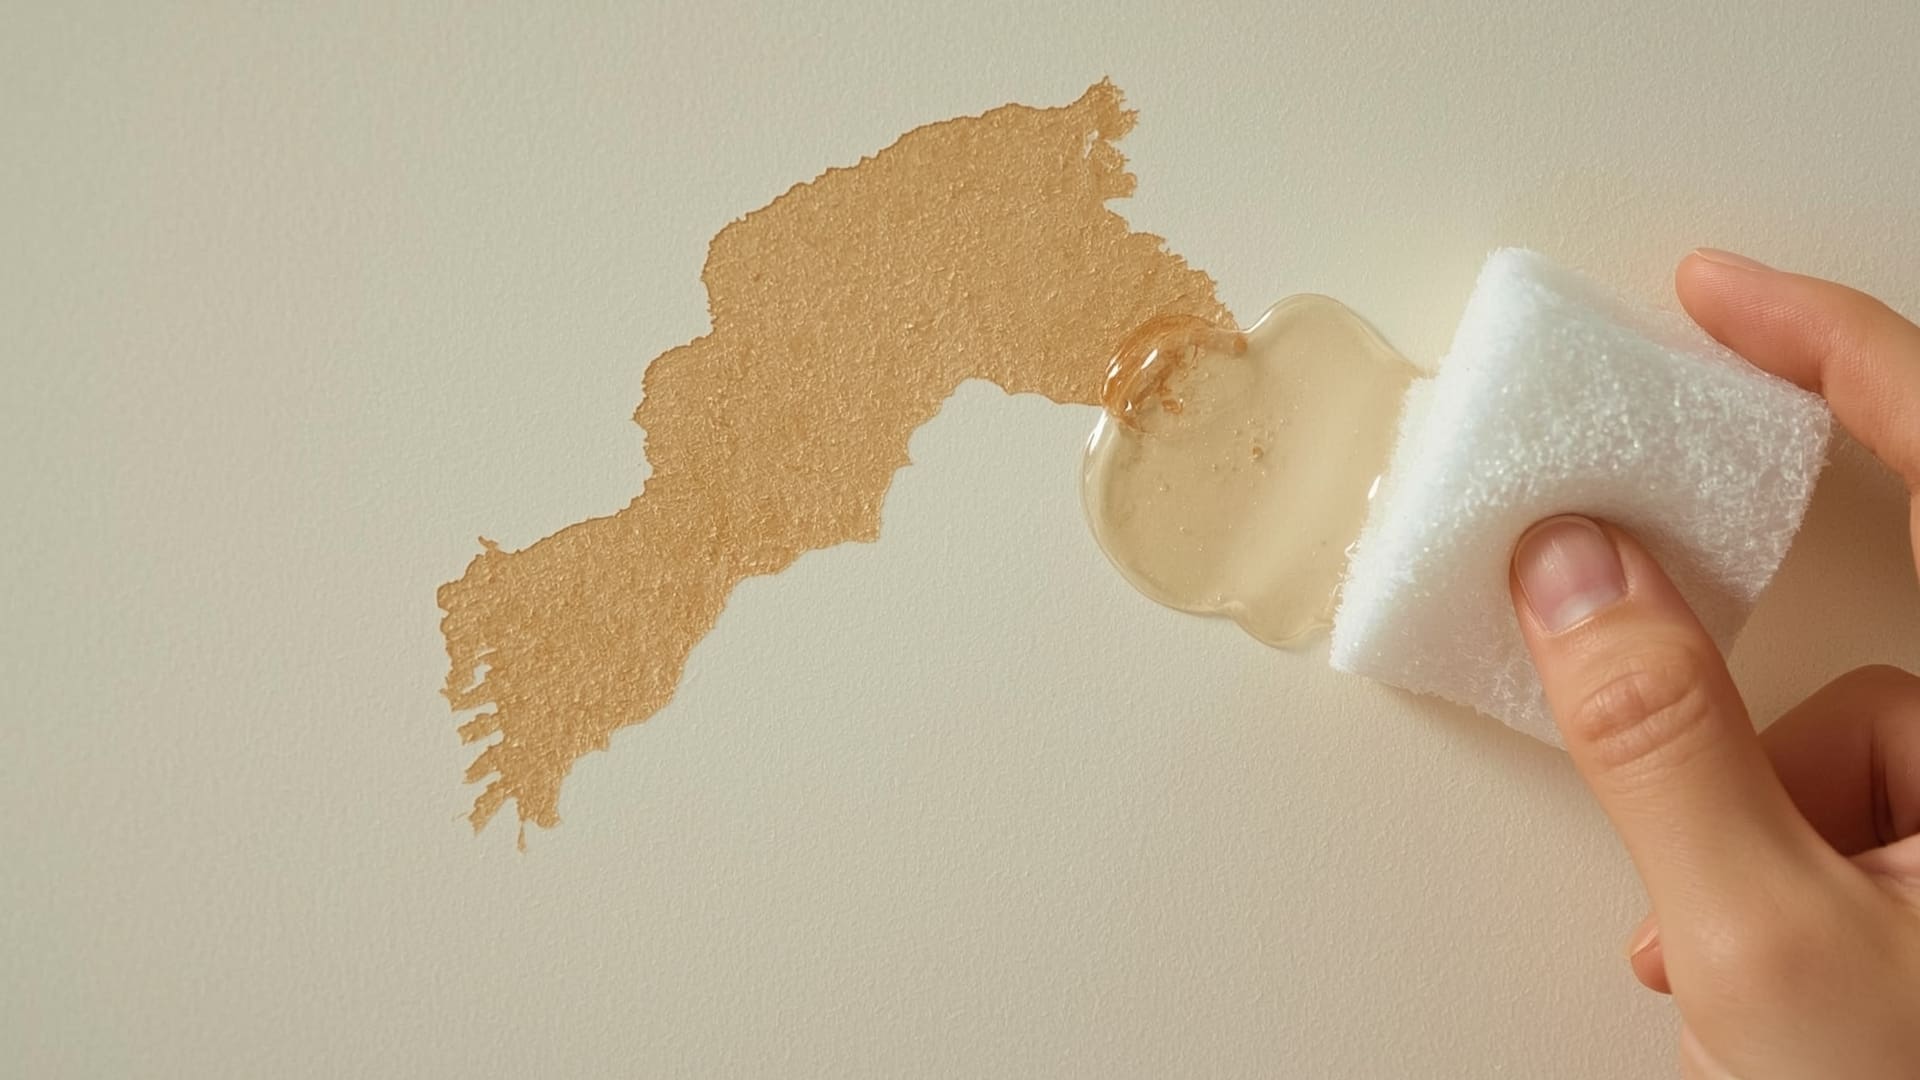
Quick Answer: Most stains respond to dish soap and warm water. Grease needs a white vinegar solution. Crayon lifts with a small amount of baking soda paste. Marker stains may need rubbing alcohol on semi-gloss only. Always test first.
Greasy Fingerprints and Kitchen Grease
Grease is the most common stain on kitchen walls. Mix white vinegar and warm water in a 1:3 ratio. Dampen a sponge, wring it out, and blot the greasy area rather than rubbing. Vinegar cuts through grease without harsh chemicals. This works safely on satin, semi-gloss, and gloss finishes.
Scuff Marks
Scuffs from furniture, shoes, or bags are surface-level marks — the color sits on top of the paint, not in it. A barely damp microfiber cloth with a drop of dish soap handles most scuffs. Apply light pressure and blot. Avoid the temptation to scrub harder if it doesn’t come off immediately — more pressure causes burnishing on flat and eggshell finishes.
Crayon Marks
Mix one teaspoon of baking soda with enough water to form a thin paste. Apply it to the crayon mark with a soft cloth, let it sit for 30 seconds, then gently wipe away. The mild abrasiveness of baking soda lifts the waxy pigment. Only use this method on semi-gloss or gloss — it’s too abrasive for flat and eggshell paints.
Permanent Marker and Ink
Rubbing alcohol (isopropyl alcohol, 70%) removes permanent marker from semi-gloss and gloss finishes. Apply it to a cotton ball rather than directly to the wall. Blot the stain gently and work from the outside edge toward the center to avoid spreading. Test this method first — even on tougher finishes, alcohol can sometimes affect the paint sheen.
Mold and Mildew Spots
Small surface mold spots on bathroom walls can be treated with a 1:1 mixture of white vinegar and water. Apply it with a cloth, let it sit for 10 minutes, then wipe gently and rinse. Do not use bleach directly on painted walls — it strips paint color and weakens the binder. If mold covers an area larger than 10 square feet, it’s a structural issue that needs professional assessment, not just cleaning.
Stain-Specific Cleaning Methods
| Stain Type | Recommended Method | Safe Paint Finish | Dwell Time | Avoid |
|---|---|---|---|---|
| Grease / Cooking oil | White vinegar + water (1:3) | Satin, semi-gloss, gloss | 30–60 seconds | Undiluted degreasers |
| Scuff marks | Dish soap + water, blot gently | All finishes (very light on flat) | 20 seconds | Scrubbing, magic eraser |
| Crayon | Baking soda paste | Semi-gloss, gloss only | 30 seconds | Flat and eggshell |
| Permanent marker | Rubbing alcohol (70%), blot | Semi-gloss, gloss only | None — blot immediately | Flat, eggshell, vigorous rubbing |
| Mold / Mildew | White vinegar + water (1:1) | Satin, semi-gloss, gloss | 10 minutes | Bleach on painted surfaces |
| Pencil marks | White eraser, then damp cloth | All finishes (very gentle) | N/A | Colored erasers, gritty tools |
How Do You Avoid Streaks When Cleaning Walls?
Quick Answer: Streaks happen when soap dries on the wall before you rinse it, or when you use too much water. Prevent them by cleaning in small sections, rinsing each section before moving on, and patting the wall dry with a clean towel immediately after rinsing.
The two-bucket method is your best defense against streaks. One bucket holds your soapy cleaning solution. The second holds clean rinse water. Never skip the rinse step — dried dish soap leaves a thin, hazy film that catches light and looks worse than the original grime.
Room lighting also helps you catch streaks before they dry. Clean walls with a portable light source angled at the surface. Drag light rakes across the wall at a low angle. This reveals soapy residue or uneven cleaning you’d miss under normal lighting.
If streaks have already dried, re-wet the streaky area with clean warm water and a fresh cloth. Wipe in small sections and dry immediately. In most cases, this removes the residue without needing to re-clean the whole wall.
What’s the Safest Way to Clean Flat Paint Without Leaving Marks?
Quick Answer: For flat paint, use a lightly damp microfiber cloth with no soap. Blot the stain — never rub. Work in the smallest section possible. Flat paint can’t be scrubbed or rewet repeatedly without showing damage, so patience and minimal moisture are the only reliable approach.
Flat paint is the most frustrating finish to clean because its porosity works against you. Moisture soaks in quickly. Friction creates burnish marks — shiny patches where you’ve polished the surface — that look worse than the original stain and can’t be removed without repainting.
For most flat paint stains, your goal isn’t perfect removal. It’s minimizing the stain while preserving the surrounding surface. Blot lightly and stop when the stain stops improving. A faint remaining mark is far less visible than a burnish patch or a damp spot that dried darker than the surrounding wall.
If a stain on flat paint won’t budge, touch-up paint is often the better solution. Keep a small jar of leftover paint from your original paint job for exactly this purpose.
Can You Clean Walls With Baking Soda, Vinegar, or Other Home Remedies?
Quick Answer: White vinegar diluted 1:3 with water is safe on satin, semi-gloss, and gloss finishes and works well on grease. Baking soda paste is mildly abrasive and only safe on semi-gloss and above. Never use undiluted vinegar, lemon juice, or ammonia-based products on painted walls.
White vinegar is a weak acid. Diluted properly, it cuts through grease and kills surface mold without stripping paint. But used straight from the bottle, it’s acidic enough to affect paint pigment and binder on more delicate finishes. Always dilute it.
Baking soda works as a mild mechanical abrasive. It lifts waxy stains like crayon by gently scraping them off the surface. The risk is that it can also scrape the surface paint layer if you use too much pressure or apply it to a porous finish.
Avoid lemon juice on walls entirely. The citric acid is concentrated enough to cause discoloration. Ammonia-based glass cleaners are also a no-go — ammonia weakens latex paint binders and can cause peeling over time.
How Often Should You Clean Painted Walls?
Quick Answer: Dust painted walls every 1 to 3 months with a dry microfiber cloth. Do a full damp clean once or twice a year in low-traffic rooms. High-traffic areas like hallways, kitchens, and kids’ rooms benefit from spot cleaning monthly and a full clean every 3 to 6 months.
Cleaning Frequency by Room Type
| Room Type | Typical Finish | Dust Frequency | Full Damp Clean | Spot Clean |
|---|---|---|---|---|
| Bedroom | Flat / Eggshell | Every 2–3 months | Once per year | As needed |
| Living room | Flat / Eggshell | Every 1–2 months | 1–2 times per year | Monthly |
| Kitchen | Satin / Semi-gloss | Monthly | Every 3–4 months | Weekly |
| Bathroom | Semi-gloss | Monthly | Every 2–3 months | Bi-weekly |
| Hallway | Satin / Semi-gloss | Monthly | Every 3–6 months | Monthly |
Regular light cleaning prevents the kind of deep-set grime that requires aggressive scrubbing later. The more often you dust and spot-clean, the less intensive each full cleaning session needs to be.
When Should You Just Repaint Instead of Trying to Clean?
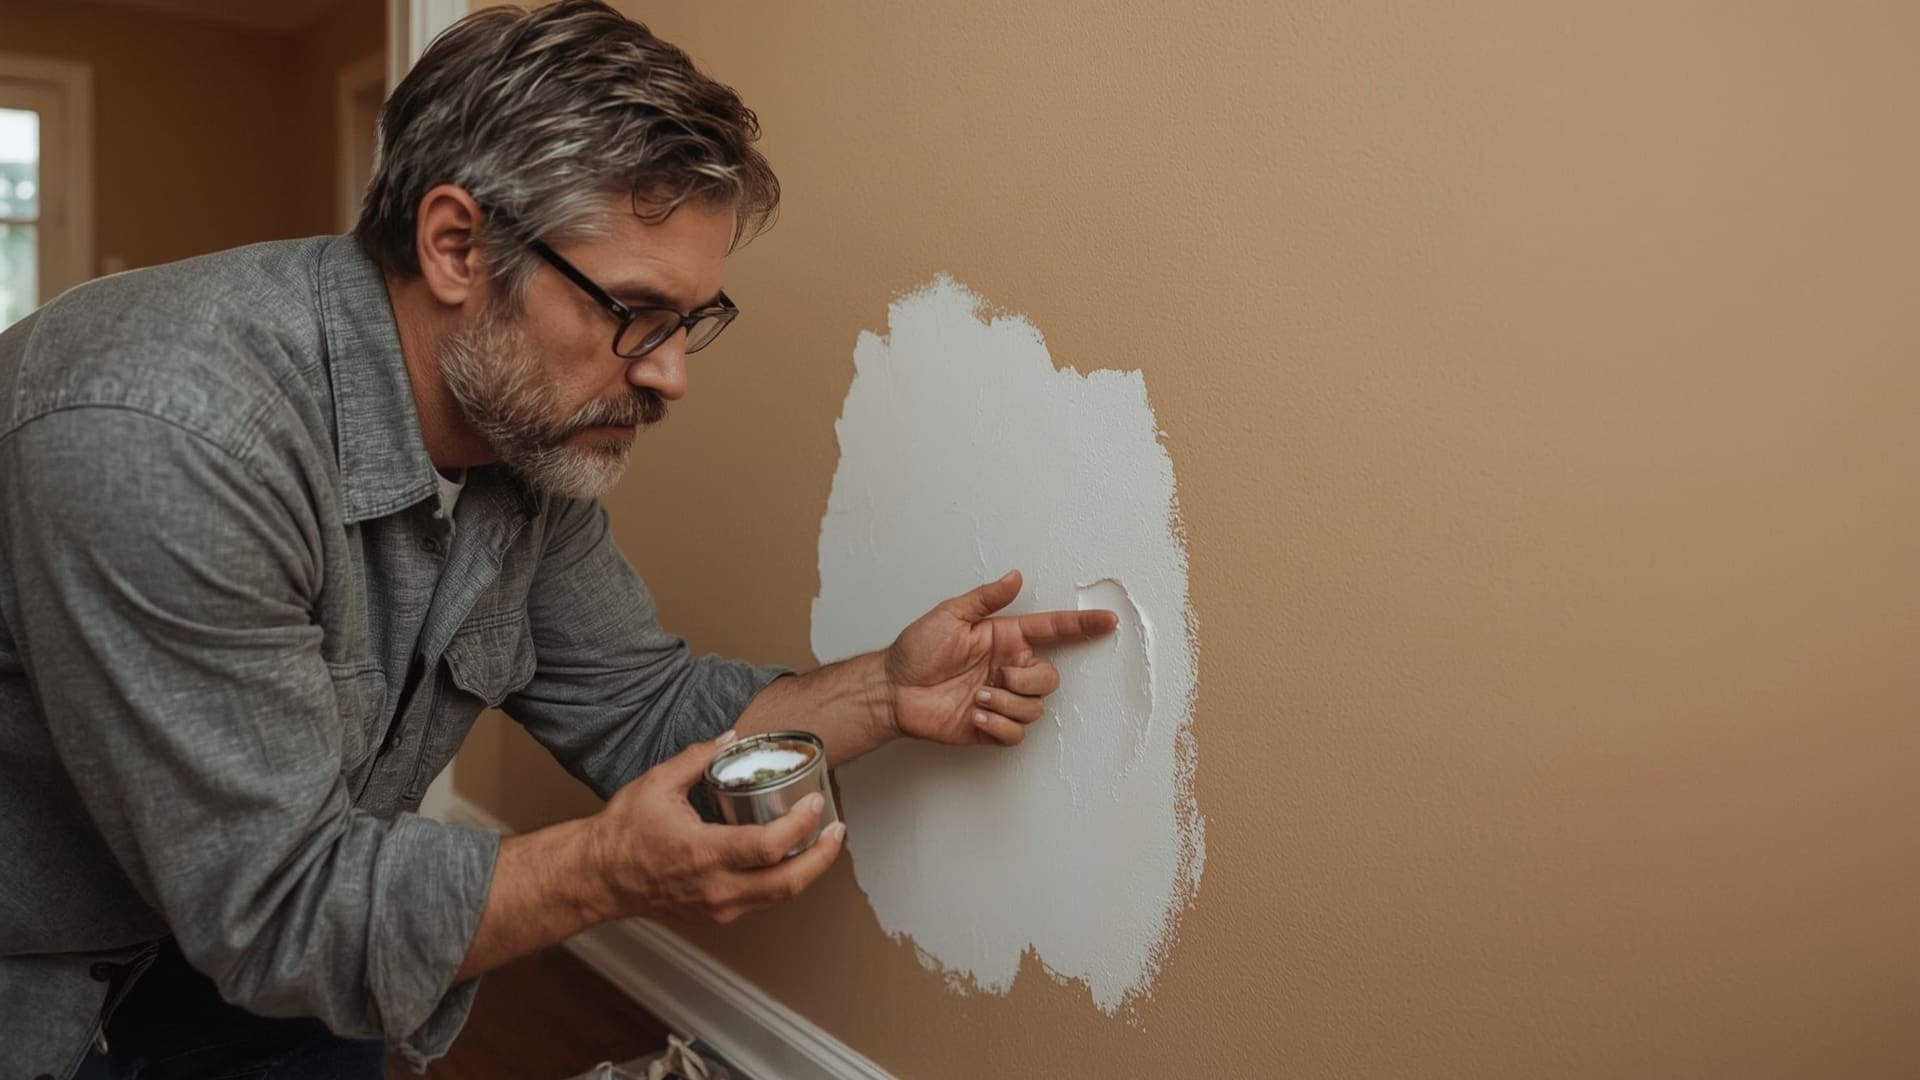
Quick Answer: Repaint when stains are soaked into flat paint and won’t lift without scrubbing damage, when you see burnish marks or patchy dull areas from past cleaning, or when walls have widespread mold, permanent discoloration, or paint that’s already peeling or chalking.
Some situations are beyond cleaning. If you’ve already cleaned an area and created burnish marks, those can’t be cleaned away — the paint surface structure has changed. The only fix is primer and a fresh coat of paint.
Walls that have yellowed from nicotine, cooking smoke, or age also don’t respond to cleaning. A stain-blocking primer like shellac-based or oil-based primer, followed by a fresh topcoat, is the right tool for that job.
If you’re preparing for a move-out inspection or a home sale, it’s worth knowing that a fresh coat of paint on damaged walls will always look better and cost less trouble than trying to clean paint that’s already compromised.
Frequently Asked Questions
Can you use a magic eraser on painted walls?
Magic erasers are made of melamine foam, which works by micro-abrasion — essentially fine sanding. They will dull and burnish flat, matte, and eggshell finishes permanently. On semi-gloss and gloss paints, they can be used very lightly in a pinch, but a non-scratch sponge is always a safer option.
Does dish soap remove paint from walls?
Dish soap at proper dilution — two drops per quart of water — does not remove latex paint from walls. Problems occur when soap is used undiluted or when you scrub aggressively on porous finishes. Always dilute and apply with a light hand.
How do you clean walls without leaving watermarks?
Watermarks form when water dries unevenly on the wall surface. Pat the wall dry with a clean towel immediately after rinsing rather than letting it air-dry. Working in small sections and ensuring each one is fully dry before moving on prevents watermark patterns from forming.
Is it safe to clean walls with a steam cleaner?
Steam cleaners introduce high heat and saturating moisture directly into the paint film. This loosens the bond between paint and drywall, especially on older latex paint. Steam cleaning is not recommended for painted interior walls — the moisture risk far outweighs the cleaning benefit.
What causes paint to peel after cleaning?
Peeling after cleaning usually means the wall was over-wet, an incompatible chemical was used, or the paint film was already failing before you cleaned it. Cheap or old latex paint is most vulnerable. If cleaning causes peeling, the paint had an underlying adhesion problem — cleaning just revealed it.
Can you clean walls with just water?
Yes — for dust, light cobwebs, and minor smudges, plain warm water on a damp microfiber cloth is enough. It’s the only safe option for flat and matte finishes. For anything greasy or sticky, a tiny amount of dish soap added to the water improves results without meaningful risk to most paint finishes.