Knowing how to clean baseboards before moving out can be the difference between getting your full deposit back and losing money over something easy to fix. Baseboards collect dust, scuff marks, and grime over time, and landlords notice them during move-out inspections. The good news is that cleaning them correctly takes basic supplies and a clear plan.
Most damage to baseboards happens from using the wrong cleaners or scrubbing too hard. This guide walks you through every step, from gathering supplies to tackling stubborn stains, so you can deep clean baseboards without causing new problems. Follow these baseboard cleaning tips and you will leave the home in great shape.
Ready to learn more? See how our move-in/move-out cleaning services in Raleigh handle every detail so you can focus on your move.
What You Need Before You Start Cleaning Baseboards
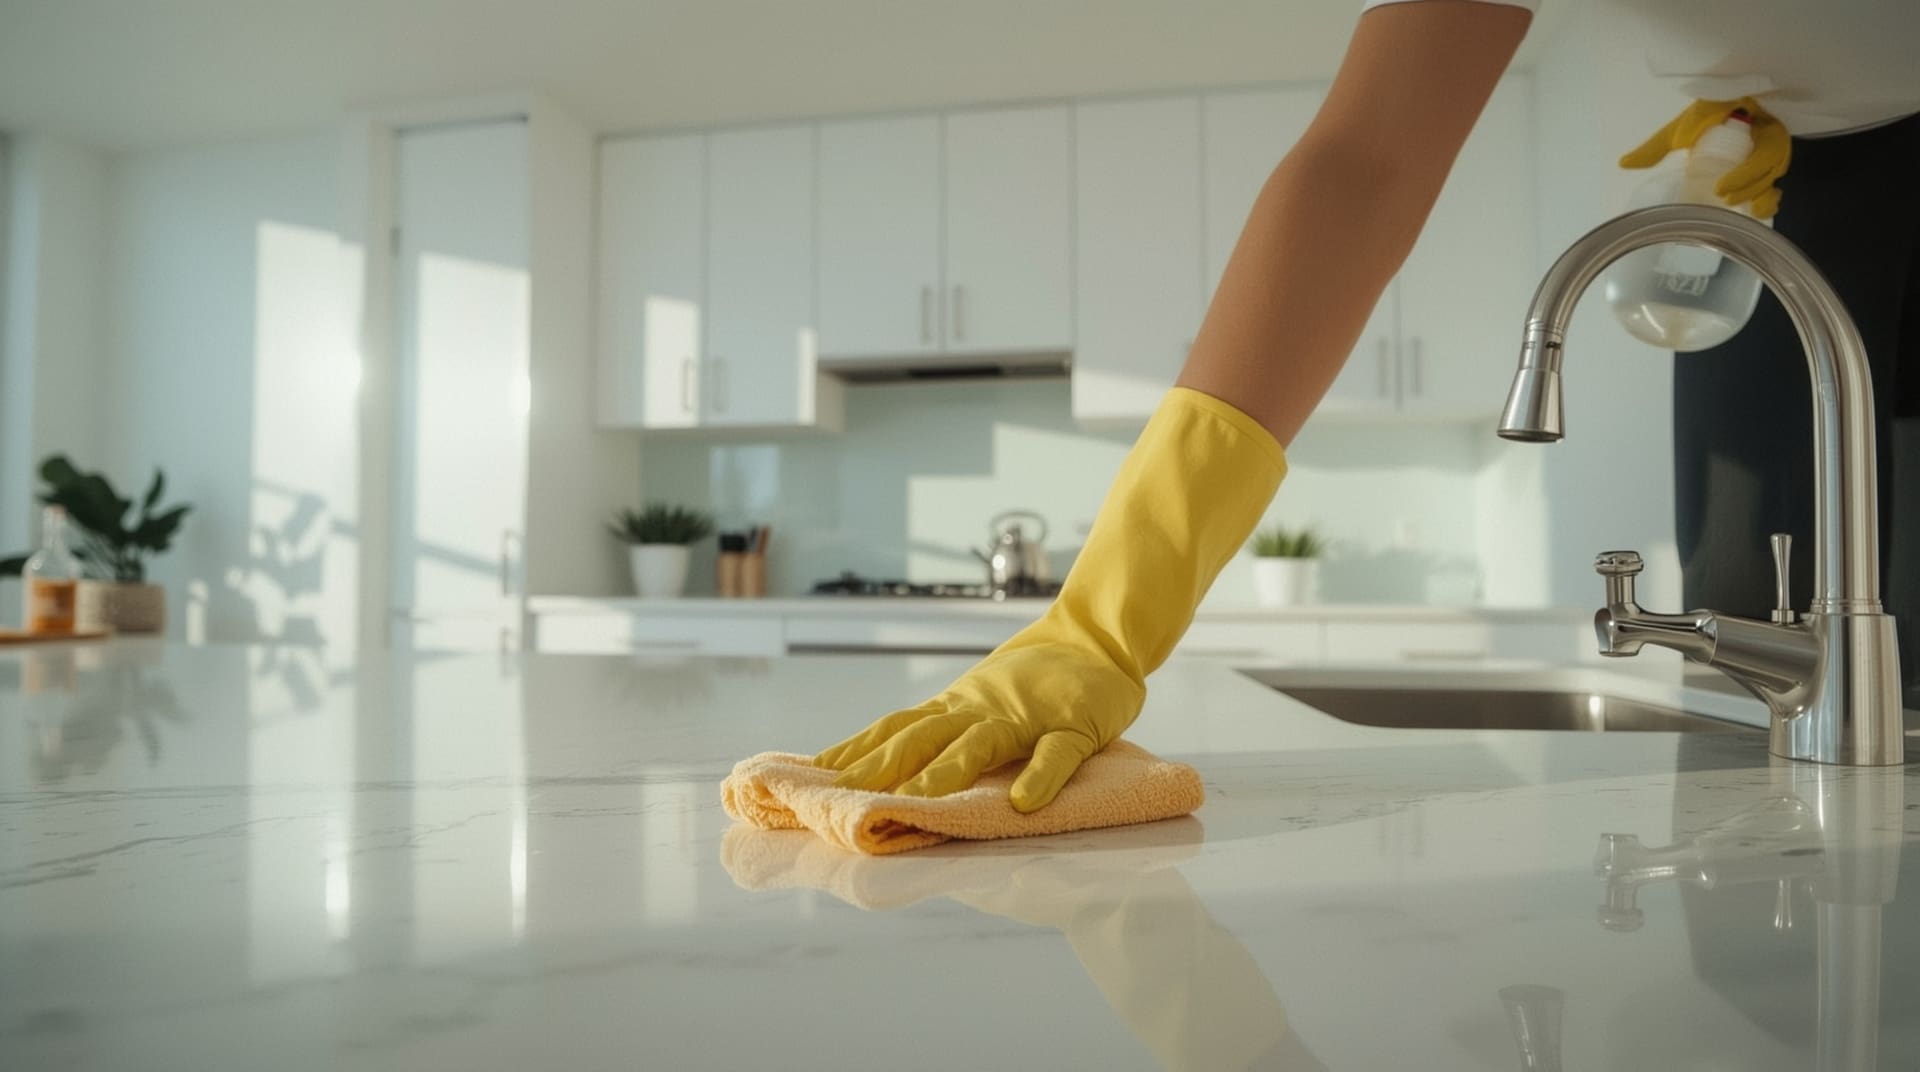
Gathering your supplies first saves time and prevents you from leaving a job half-done. You do not need expensive products. Most items are already in your home or cost just a few dollars at any hardware store.
Here is what you need:
- Dry microfiber cloths for dusting and wiping
- A vacuum with a brush attachment to pull loose debris out of corners
- Warm water mixed with a few drops of dish soap
- White vinegar solution (equal parts vinegar and water) for grease or buildup
- Magic eraser or melamine foam sponge for scuff marks
- Old toothbrush for tight corners and detail work
- Bucket or spray bottle to control moisture
- Dry towel to remove excess moisture after cleaning
Avoid bleach-based cleaners, abrasive scrubbers, or anything labeled as a degreaser unless the manufacturer confirms it is safe for painted surfaces. Harsh products strip paint and create new damage you will have to fix before leaving.
The Step-by-Step Process to Deep Clean Baseboards
Working through a set order keeps you from re-dirtying surfaces you already cleaned. Start at the top of each wall and work your way down, saving floors for last.
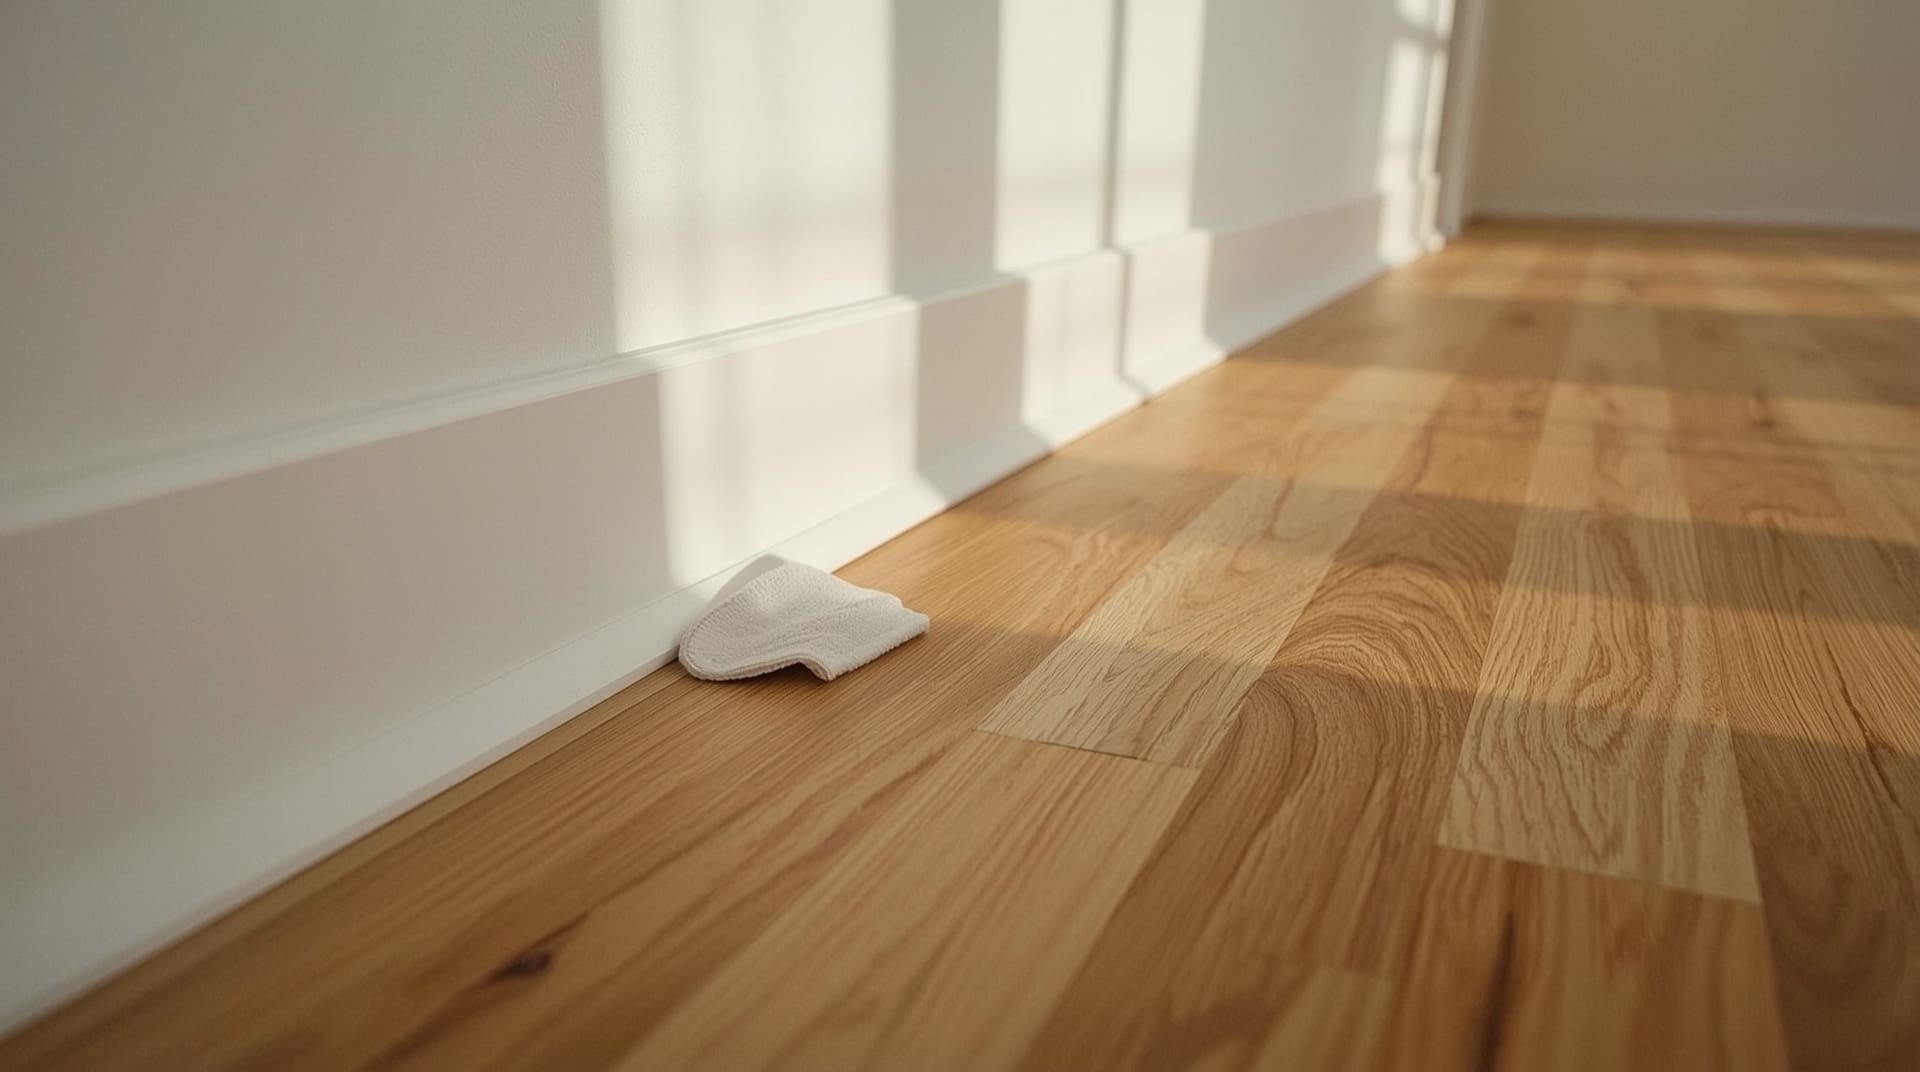
Step 1. Dry Dust First
Run a dry microfiber cloth along the top edge of each baseboard to remove loose dust. Then use your vacuum’s brush attachment to pull debris out of the gap where the baseboard meets the floor. Skipping this step means wet cleaning will turn dust into muddy streaks that are harder to remove.
Step 2. Wipe Down with Soapy Water
Dip a microfiber cloth into warm soapy water and wring it out until it is barely damp. Wipe along the full length of each baseboard using smooth horizontal strokes. A damp cloth, not a wet one, is critical here. Too much moisture soaks into the wood or MDF (medium-density fiberboard, a common baseboard material) and causes swelling or paint bubbling.
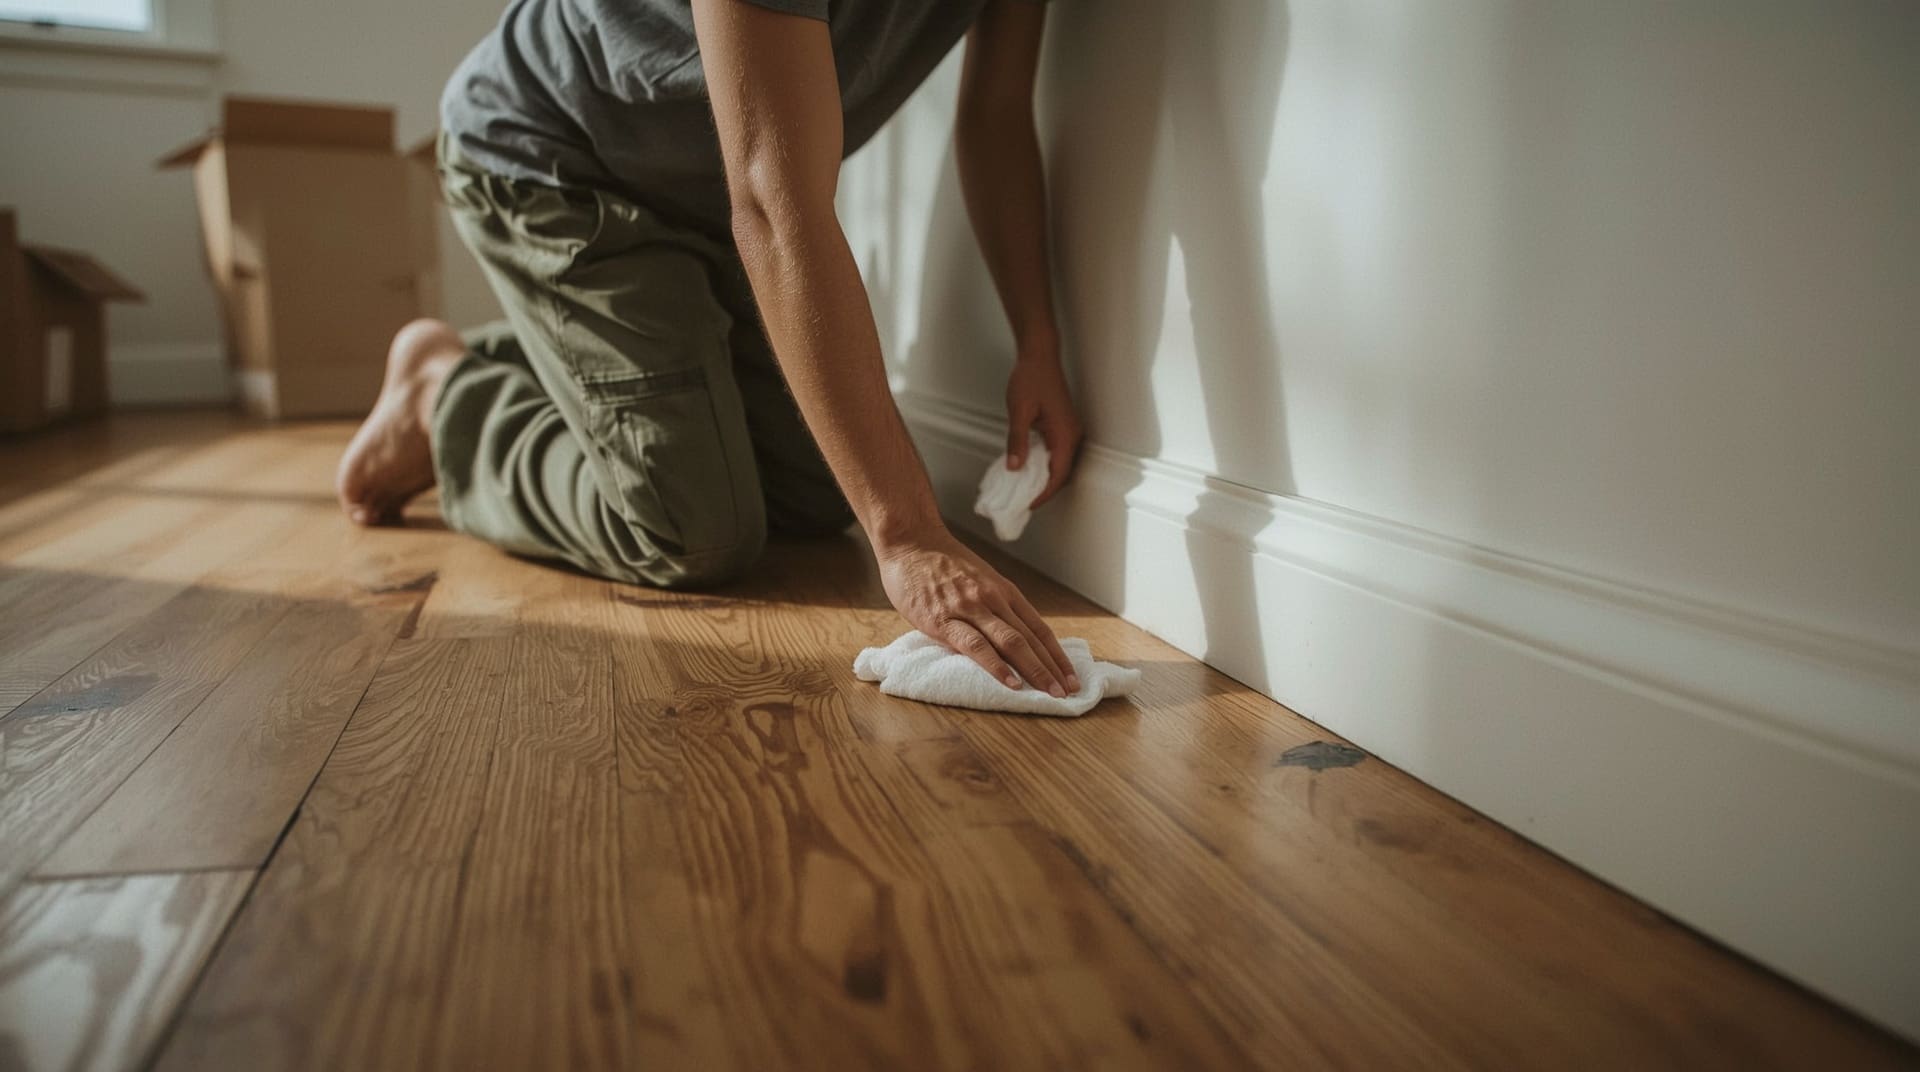
Step 3. Tackle Corners with an Old Toothbrush
Corners where baseboards meet door frames or other walls trap compacted dust and grime. Dip an old toothbrush into your soapy water solution and scrub lightly in small circular motions. Wipe the loosened debris away with a clean cloth right after. This detail work is exactly what landlords check during inspections.
Step 4. Remove Scuff Marks
Lightly dampen a magic eraser and rub it gently over scuff marks using minimal pressure. Magic erasers are mildly abrasive and will dull or remove paint if you press too hard. Test on a small hidden section first to make sure the finish holds up before cleaning the full room.
Step 5. Dry Every Surface Thoroughly
Follow up immediately with a dry towel to remove any remaining moisture. Do not let baseboards air dry while still wet. Moisture left sitting on painted wood or MDF can cause the paint to peel, which creates new damage you did not have before.
How to Handle Stubborn Stains on Painted Baseboards
Standard soapy water handles most everyday grime, but some stains need extra attention. The key is to increase cleaning strength gradually rather than reaching for the strongest product first.
| Stain Type | Best Solution | Tool to Use | Caution |
|---|---|---|---|
| Scuff marks | Magic eraser (damp) | Melamine sponge | Light pressure only |
| Grease or food splatter | Vinegar and water mix | Microfiber cloth | Do not soak surface |
| Crayon or marker | Rubbing alcohol (small amount) | Cotton ball | Test on hidden area first |
| Heavy dirt buildup | Warm soapy water (two passes) | Microfiber cloth | Dry between passes |
| Mold or mildew spots | Diluted white vinegar | Toothbrush + cloth | Ventilate the room |
Always wipe in the direction of any wood grain or panel lines. Wiping against the grain on unpainted or lightly painted baseboards can leave micro-scratches that show up when light hits the surface at an angle.
Common Baseboard Cleaning Mistakes That Cost You Your Deposit
Cleaning baseboards seems simple, but a few common errors can leave them looking worse than before you started. Knowing what to avoid is just as important as knowing what to do.
- Using too much water. Excess moisture seeps behind baseboards or soaks into MDF, causing the material to swell and the paint to bubble or peel.
- Skipping the dry dust step. Wet-wiping dusty baseboards smears grime into the surface instead of removing it.
- Pressing too hard with a magic eraser. These sponges are abrasive. Heavy pressure removes paint, leaving dull or lighter patches that are very visible.
- Using bleach on painted surfaces. Bleach discolors paint, especially white or off-white finishes, leaving yellow staining that is difficult to cover without repainting.
- Cleaning baseboards before vacuuming the floor. If you vacuum after wiping baseboards, debris from the floor blows onto the surfaces you just cleaned.
- Ignoring the top edge. The top lip of a baseboard collects the most dust. Many people wipe the face but miss this ledge, which inspectors look at closely.
Baseboard Cleaning Tips for Specific Room Challenges
Each room in your home presents slightly different baseboard challenges based on how the space was used. Tailoring your approach by room gets better results with less effort.
Kitchen Baseboards
Kitchen baseboards collect grease mist from cooking over time. The vinegar and water solution works well here. Apply it with a microfiber cloth and let it sit for 30 seconds before wiping. Follow up with a clean damp cloth to remove the vinegar smell, then dry thoroughly.
Bathroom Baseboards
Humidity in bathrooms causes soap scum and mildew buildup, especially in corners near the shower or tub. Use diluted white vinegar on these spots and scrub with a toothbrush. Make sure the room is ventilated while you work, and dry the baseboards completely to stop new mildew from forming.
Bedroom and Living Room Baseboards
These areas usually just need a good dry dusting followed by a single pass with soapy water. Pay extra attention near furniture that was pushed against the wall for a long time. Scuff marks from furniture legs are common here and respond well to a lightly dampened magic eraser.
Hallway Baseboards
Hallways get the most foot traffic and often have the most scuff marks from shoes and bags brushing against the walls. Work in sections so you can keep your cloths clean. A dirty cloth just spreads grime from one spot to another.
Where Baseboard Cleaning Fits in Your Full Move-Out Deep Clean
Baseboards are one piece of a much larger move-out cleaning checklist. Understanding where they fit in the overall process helps you stay organized and avoid doing extra work.
The general order for a move-out deep clean should follow this sequence:
- Remove all personal belongings from the space
- Clean ceiling fans, light fixtures, and vents
- Wipe down walls and spot-treat marks
- Clean baseboards (top to bottom, room by room)
- Clean appliances, cabinets, and countertops
- Scrub bathrooms thoroughly
- Vacuum carpets or mop hard floors as the final step
Doing baseboards before floors makes sense because dust and debris fall downward during cleaning. If you clean floors first, you will need to redo them after touching the baseboards.
What to Do If Baseboards Are Too Damaged to Clean
Sometimes cleaning is not enough. If baseboards have deep gouges, large paint chips, or water damage that happened during your tenancy, you will need to address those issues before move-out to avoid deductions.
For chipped paint on baseboards, a small can of matching touch-up paint from a hardware store often solves the problem. Apply it with a thin artist’s brush and let it dry fully before adding a second coat if needed. For deeper physical damage, consult your lease. Some landlords prefer to handle repairs themselves and deduct the cost. It can be worth asking in writing before assuming you need to fix it yourself.
Final Thoughts on How to Clean Baseboards Before Moving Out
Cleaning baseboards before moving out is a straightforward task when you follow the right steps. Dry dust first, use minimal moisture, tackle each room based on its specific challenges, and always dry surfaces before moving on. These baseboard cleaning tips protect both the paint and the material underneath so you do not cause new damage while trying to fix old grime.
Taking time to deep clean baseboards as part of your full move-out process shows the landlord you respected the property. In Raleigh and the surrounding area, landlords conduct thorough inspections, and details like clean baseboards add up toward a full deposit return. If the job feels overwhelming, professional move-out cleaning services are available to handle every surface so nothing gets missed.
Frequently Asked Questions About How to Clean Baseboards Before Moving Out
Can I use a steam cleaner on baseboards?
You can use a steam cleaner, but you need to be careful. Hold the nozzle several inches away from the surface and keep it moving. Direct steam held in one spot can loosen paint, cause MDF to swell, or push moisture behind the baseboard. A damp microfiber cloth is safer for most standard painted baseboards.
What is the fastest way to clean all the baseboards in a house?
Work room by room and use a long-handled microfiber duster for the dry dust pass to avoid bending down repeatedly. Follow up with a barely damp cloth on a flat mop head to wipe the face of baseboards quickly. Save the detail work with a toothbrush for corners only. This method cuts cleaning time significantly in larger homes.
Will a magic eraser remove paint from baseboards?
Yes, if you use too much pressure. Magic erasers are mildly abrasive and can dull or strip paint, especially on flat or matte finishes. Always use light, gentle strokes. Test on a small hidden section before cleaning the full length of a baseboard.
Do landlords really check baseboards during move-out inspections?
Yes, most professional landlords and property management companies check baseboards as part of a standard move-out walk-through. Baseboards are a visible sign of how well a tenant maintained the property overall. Dirty or damaged baseboards can result in cleaning or repair charges deducted from your security deposit.
How long does it take to clean all baseboards in a typical home?
A typical two-bedroom or three-bedroom home takes between one and two hours to clean all baseboards thoroughly. This estimate includes dusting, wiping, corner detail work, and drying. Homes with more square footage, heavy staining, or multiple bathrooms may take longer. Starting a few days before your move-out date gives you time to address any problem spots that need extra attention.