So, you’re thinking about a really good clean? Like, the kind that makes your place feel brand new? Whether you’re planning to tackle it yourself or wondering what a pro actually does, having a plan is key. This guide breaks down what a thorough deep cleaning involves, room by room. We’ll cover everything from the oven grime to the dusty ceiling fans, making sure no spot is missed. Let’s get your home sparkling!
Key Takeaways
- A deep cleaning goes beyond your usual tidy-up, tackling built-up dirt and grime in often-missed areas.
- Regular deep cleaning, perhaps every few months or seasonally, helps maintain a healthier living space.
- Gather basic supplies like vinegar, baking soda, cloths, and scrub brushes for an effective DIY clean.
- Focus on kitchens and bathrooms first, as these areas often require the most attention.
- Don’t forget less obvious spots like ceiling fans, baseboards, and inside cabinets during your deep cleaning session.
The Ultimate Deep Cleaning Checklist
Okay, let’s talk about the big one: the deep clean. This isn’t your everyday tidy-up; it’s the kind of cleaning that makes your home feel truly fresh and new. Think of it as hitting the reset button for your living space. A thorough deep clean tackles grime and dust you might not even realize is there. It’s about getting into all those nooks and crannies that regular cleaning just can’t reach.
Why A Deep Clean Is So Important
Deep cleaning is more than just making things look pretty. It’s about creating a healthier environment for you and your family. Over time, dust, allergens, and germs can build up, especially in places we don’t often think about. Getting rid of this buildup can make a real difference, particularly if anyone in your household has allergies or respiratory issues. Plus, let’s be honest, there’s a certain satisfaction in knowing your home is truly clean from top to bottom.
How Often Should You Really Deep Clean?
This is a question I get asked a lot! There’s no single answer that fits everyone, but a good rule of thumb is to aim for a deep clean about every three months. However, if you have pets, young kids, or just tend to be a bit messier, you might want to do it more often. Some people prefer to break it down, doing one room or a few tasks each month, so it doesn’t feel like such a huge undertaking all at once. It really depends on your lifestyle and how clean you like to keep things.
Here’s a general idea:
- Busy households with kids/pets: Every 1-2 months
- Average households: Every 3-4 months
- Minimalist/tidy households: Every 6 months
Gathering Your Deep Cleaning Arsenal
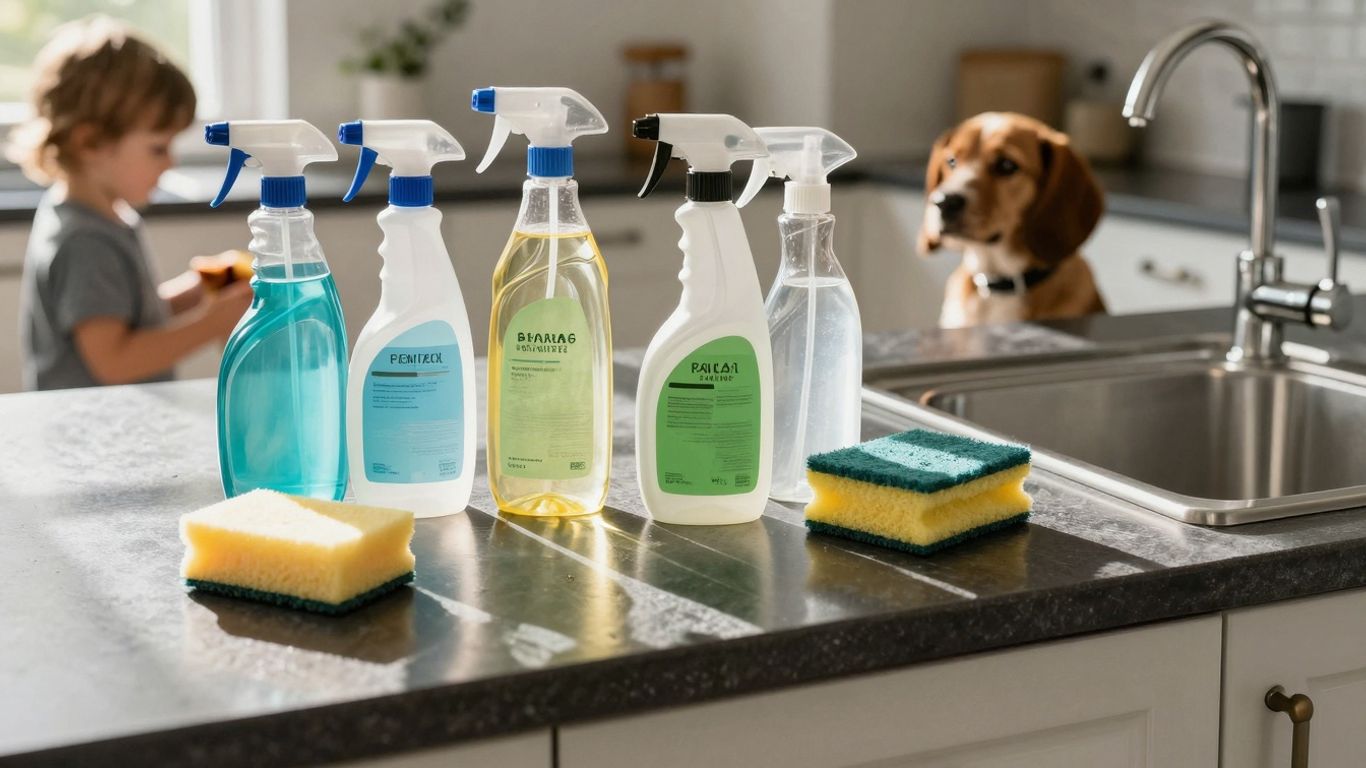
You don’t need a million fancy products to get the job done. Most of the time, simple things work best. You’ll want your trusty vacuum with attachments, a good mop, and some reliable cleaning sprays. Don’t forget microfiber cloths – they’re great for trapping dust. A good set of scrub brushes, some rubber gloves to protect your hands, and maybe a spray bottle for a DIY vinegar solution are also super helpful. Having a bucket for your cleaning solutions and another for rinsing your cloths is a game-changer too.
Here’s a quick rundown of what to have on hand:
- All-purpose cleaner
- Glass cleaner
- Degreaser (especially for the kitchen)
- Baking soda
- White vinegar
- Dish soap
- Microfiber cloths
- Sponges and scrub brushes
- Rubber gloves
- Vacuum with attachments
- Mop
- Buckets (at least two)
Kitchen Deep Cleaning Essentials
Alright, let’s talk about the heart of the home – the kitchen. This is where the magic (and sometimes the mess) happens, so a good deep clean here makes a huge difference. We’re going to tackle the spots that often get overlooked during a regular tidy-up.
Tackling The Oven And Stovetop
First up, the oven. If you have a self-cleaning feature, now’s the time to use it, but make sure to wipe out any loose bits first to avoid smoke. For older ovens or stubborn baked-on messes, you might need a dedicated oven cleaner. Remember to remove and clean the oven racks separately – soaking them in hot, soapy water can work wonders. For the stovetop, remove grates or burner covers and give them a good soak too. Don’t forget the vent hood and its filter; grease loves to build up there!
- Remove grates and soak in hot, soapy water.
- Wipe down the oven interior, paying attention to the door and glass.
- Clean the stovetop, including control knobs and the vent hood filter.
Microwave And Small Appliance Refresh
That microwave can get pretty grimy. A simple trick is to heat a bowl of water with some vinegar or lemon slices inside for a few minutes. The steam will loosen up all those splatters, making them easy to wipe away. Don’t forget to take out the glass turntable and wash it separately. For other small appliances like toasters or air fryers, empty out crumb trays and wipe down exteriors. It’s amazing what a difference a clean appliance makes!
Cabinet And Countertop Deep Clean
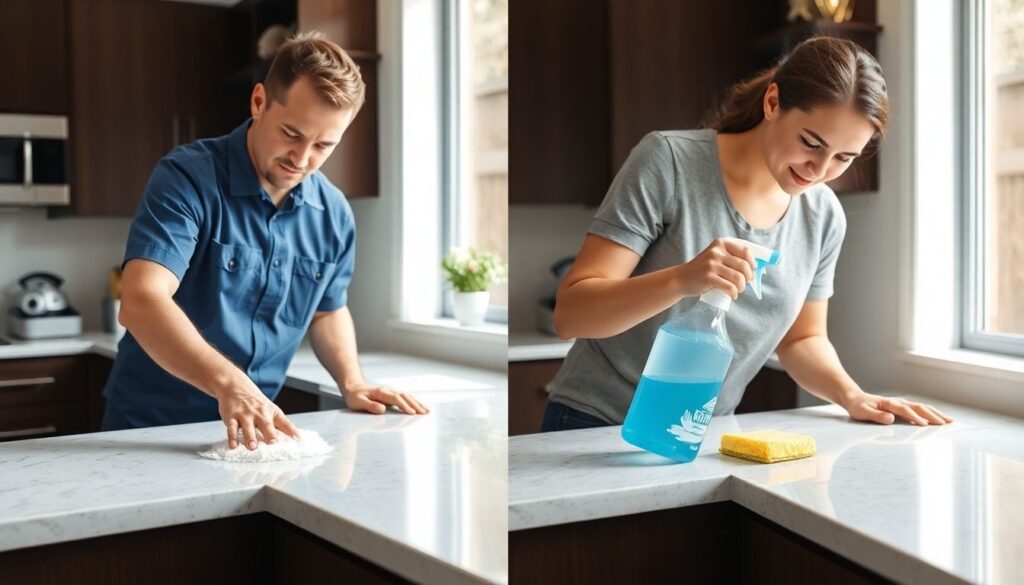
Pull everything out of your cabinets and pantry, one shelf at a time. Give them a quick vacuum or wipe down before putting items back. This is also a great time to check expiration dates! For countertops, use the right cleaner for your material – granite, quartz, or laminate all need different care. A good degreaser is your friend here for any sticky spots. Wipe down cabinet fronts and hardware too; they get touched constantly.
Remember to use appropriate cleaners for your specific countertop material. Harsh chemicals can damage surfaces like granite or marble.
- Empty and wipe down cabinet interiors and shelves.
- Clean cabinet fronts, handles, and knobs.
- Wipe down countertops with a suitable cleaner.
Bathroom Deep Cleaning Tasks
Alright, let’s talk about the bathroom. This is one of those rooms that needs a good scrub more often than not, right? It’s where we get ready for the day and wind down, so keeping it fresh is a big deal. We’re going beyond just a quick wipe-down here.
Scrubbing Showers, Tubs, and Toilets
This is probably the most intensive part of bathroom cleaning. For the shower and tub, you’ll want to tackle any soap scum or mildew. A good scrub brush and a cleaner that can handle those tough spots are your best friends. Don’t forget to clean the showerhead too; mineral buildup can really mess with your water pressure. Sometimes, just soaking it in vinegar can work wonders.
When it comes to the toilet, it’s not just about the inside bowl. Make sure you get the base and the area behind the toilet, as that’s where dust and grime love to hide. A small brush or an old toothbrush is perfect for getting into those tight spots.
Sparkling Sinks and Mirrors
After the shower and toilet, the sink and mirror area is next. You’ll want to get rid of any toothpaste splatters, water spots, and general gunk. For the sink fixtures, a soft cloth and a mild cleaner should bring back their shine. Mirrors can be tricky – streaks are the enemy! A good glass cleaner or a simple vinegar and water mix, followed by a good buff with a clean cloth, usually does the trick.
Don’t Forget the Grout!
This is the part that can make or break the whole look of your bathroom. White grout, especially, can start to look dingy pretty quickly. A paste made from baking soda and water is a great way to gently scrub grout lines. You can use an old toothbrush or a small grout brush for this. It might take a little elbow grease, but seeing that clean grout again is super satisfying.
Here’s a quick rundown of what to focus on:
- Shower/Tub: Address soap scum, mildew, and showerhead buildup.
- Toilet: Clean the bowl, base, and the often-missed area behind it.
- Sink: Polish fixtures and clear out any grime around the drain and faucet.
- Mirrors: Aim for a streak-free shine.
- Grout: Scrub grout lines to brighten the overall look.
Keeping these areas clean not only makes your bathroom look better but also helps prevent bigger problems down the line, like mold or really stubborn stains. It’s all about staying on top of it!
Living Spaces Deep Cleaning
Alright, let’s talk about making your main hangouts sparkle! This is where we spend a lot of our time, so giving them a good deep clean makes a huge difference in how your whole home feels. It’s not just about making things look nice; it’s about creating a more comfortable and healthy space for everyone.
Dusting High and Low Surfaces
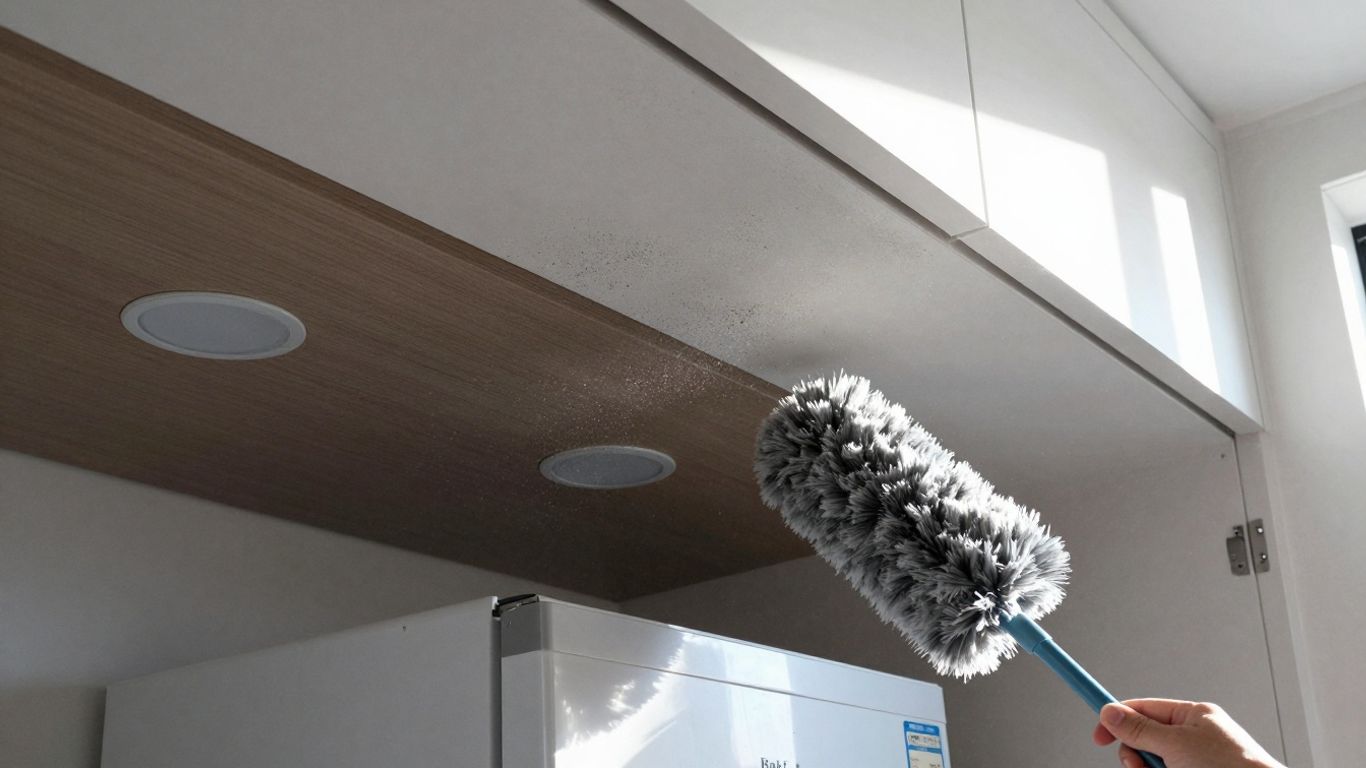
Dust bunnies love to hide everywhere, from the tops of bookshelves to the baseboards. For a pro-level clean, you’ll want to tackle these spots methodically. Start from the top and work your way down so you’re not just moving dust around. Think ceiling fans, light fixtures, the tops of cabinets, picture frames, and even those tricky spots on top of door frames. A microfiber duster is your best friend here, as it traps dust instead of just pushing it around. Don’t forget to get behind furniture and under any decorative items. For those really high spots, a sturdy stepladder is a must, but always prioritize safety.
Upholstery and Furniture Refresh
Your couches and chairs can hide a surprising amount of crumbs, pet hair, and general grime. The first step is to remove all the cushions. Give them a good shake outside if you can. Then, use your vacuum’s crevice tool to get into all the seams and under the cushions. You’d be amazed at what you find! If you have fabric furniture, consider a fabric refresher spray or even a light steam clean for a deeper clean. For leather furniture, use a cleaner specifically designed for it to keep it supple and looking its best. Moving furniture away from walls is key to cleaning the hidden areas.
Window and Blind Deep Clean
Windows and blinds often get overlooked, but they really impact the light and feel of a room. For blinds, a simple method is to use a damp cloth or a microfiber mitt (you can even use an old sock!) sprayed with an all-purpose cleaner or a 1:1 vinegar and water solution. Wipe each slat individually. For windows, clean the glass with your preferred cleaner, but don’t forget the tracks and sills. Vacuuming out the window tracks first will remove a lot of loose dirt and debris. If you have screens, give them a wipe down too. A clean window makes a room feel so much brighter and more open.
Cleaning these areas might seem tedious, but the result is a noticeably fresher and more inviting living space. It’s about creating a sanctuary where you can truly relax.
Beyond The Main Rooms Deep Cleaning
Okay, so we’ve tackled the kitchen and bathrooms, and probably spent a good chunk of time in the living areas. But a truly deep clean means looking beyond the obvious spots. There are often overlooked areas that can really make a difference in how fresh and tidy your whole home feels. Let’s get into those often-forgotten zones!
Closet and Drawer Declutter
This is where things can get a little wild, right? We all have those drawers or closets that become black holes for stuff. For a deep clean, it’s time to face them. Pull everything out, sort it into keep, donate, or toss piles. Wipe down the empty shelves and drawers before putting back only the items you actually use and love. It’s amazing how much space you can free up and how much easier it is to find things when everything has a place.
- Empty completely: Don’t just shuffle things around. Take it all out.
- Sort ruthlessly: Be honest about what you need.
- Wipe down surfaces: Clean shelves, drawers, and walls.
- Organize: Put items back neatly, perhaps using dividers or bins.
Laundry Room Revitalization
This room often gets a bad rap for being a bit grimy. Think about it: lint, detergent spills, maybe even some mysterious damp spots. Start by giving your washer and dryer a good wipe-down, both inside and out. Don’t forget the control panels and the lint trap – clean that out thoroughly! If you have a utility sink, give it a scrub. And while you’re at it, wipe down the walls and any shelving. A clean laundry room makes laundry day feel a lot less like a chore.
Ceiling Fans and Light Fixtures
Dust loves to settle on these high-up spots, and it can really make a room feel dingy. For ceiling fans, use an old pillowcase to wipe down the blades. Just slip the pillowcase over the blade and pull it off – the dust stays inside! For light fixtures, carefully remove globes or covers if possible, wash them gently, and wipe down the fixture itself. Make sure everything is dry before putting it back. It’s a small step, but it brightens up the whole room.
Cleaning these higher areas can sometimes feel like a stretch, literally. Make sure you have a sturdy step stool or ladder and a clear space around you before you start. Safety first, always!
Floors And Finishing Touches
Alright, we’re almost there! We’ve tackled the big stuff, but the floors and those little details really make a place feel truly clean. Don’t skip these steps – they make a huge difference.
Vacuuming Carpets And Rugs
First things first, let’s get those carpets and rugs looking their best. You’ll want to move furniture out of the way if you can. Use your vacuum’s crevice tool to get along baseboards and into any tight spots. If you have stubborn spots or pet odors, a sprinkle of baking soda left overnight before vacuuming can work wonders. For a really deep clean on carpets, consider renting a carpet shampooer or using a good carpet stain remover. Always test any cleaner on an inconspicuous spot first, though!
Mopping Hardwood And Tile
Now for the hard surfaces. For hardwood or laminate floors, use a damp mop – not soaking wet! Too much water can damage them. A good all-purpose floor cleaner or even a mix of water and a little white vinegar usually does the trick. For tile floors, especially in kitchens and bathrooms, pay attention to the grout. A paste made from baking soda and water can help lift grime. Scrub with a stiff brush, let it sit for a bit, then mop the whole floor.
Wiping Down Doors And Baseboards
These are the unsung heroes of a clean home. Dust and scuffs love to gather here. Grab a damp cloth, maybe with a little all-purpose cleaner, and wipe down all your doors, door frames, and baseboards. You’ll be surprised how much cleaner the whole room looks once these are fresh. For any scuff marks on walls or baseboards, a Mr. Clean Magic Eraser can be a lifesaver.
Remember to always work from the top down when cleaning rooms. This way, any dust or dirt you dislodge from higher surfaces will fall onto areas you haven’t cleaned yet, so you don’t have to do the work twice.
Here’s a quick rundown of what to focus on:
- Carpets & Rugs: Vacuum thoroughly, use crevice tool, spot treat stains, consider shampooing for deep clean.
- Hardwood & Laminate: Damp mop only, use appropriate cleaner, avoid excess water.
- Tile: Mop well, pay special attention to grout with a scrub brush and paste.
- Doors & Baseboards: Wipe down all surfaces, tackle scuff marks.
Wrapping Up Your Deep Clean
So, there you have it! Whether you’re tackling it all yourself or just want to know what those pros are up to, this checklist should give you a good idea of what a deep clean really involves. It might seem like a lot, but breaking it down room by room, or even task by task, makes it way more manageable. Remember, a clean home feels good, and you don’t need fancy tools to get there. Just a bit of time, some basic supplies, and maybe a good playlist to keep you going. You’ve got this!
Frequently Asked Questions
What exactly is a deep clean, and why should I bother?
A deep clean is like a super thorough tidy-up that goes way beyond your usual weekly wipe-down. It means getting into all those nooks and crannies, cleaning appliances, and tackling spots you might normally skip. Doing this helps get rid of built-up dirt, yucky germs, and stuff that can make you sneeze, keeping your home healthier and feeling much fresher.
How often should I really be doing a deep clean?
It really depends on your life! If you have pets, little kids, or just tend to make a bit of a mess, you might want to deep clean every few months. For others, maybe once or twice a year is enough. Think of it like this: your regular cleaning keeps things tidy, while a deep clean is for those times when things need a serious refresh.
How long does a deep clean usually take?
That’s a big question! It can take anywhere from a whole day to a whole weekend, or even longer if you spread it out. It depends on how big your house is, how dirty things are, and how fast you clean. Some people like to get it all done at once, while others prefer to tackle one room or a few tasks each week to make it less overwhelming.
What are the most important things to clean during a deep clean?
You’ll want to focus on areas that get a lot of use and are easily seen, like the kitchen and bathrooms. But don’t forget the less obvious spots! Think about things like baseboards, ceiling fans, light fixtures, and the tracks where your windows slide. These often get overlooked but make a big difference when they’re clean.
Do I need special cleaning supplies for a deep clean?
Not at all! You can do a fantastic job with everyday items. Things like white vinegar, baking soda, dish soap, a good scrub brush, and some microfiber cloths work wonders. Having a couple of buckets and some sturdy gloves will also make the job easier and safer.
Should I try to do all the deep cleaning myself?
You absolutely can do it yourself! It’s a great way to save money and get to know your home better. However, if you’re short on time or just don’t enjoy cleaning, hiring a professional service is a good option. They have the tools and experience to get the job done quickly and thoroughly.

