Dirty shower grout is one of the most stubborn cleaning problems in any bathroom. Grout is the cement-based filler between your tiles, and its porous surface traps soap scum, hard water minerals, and mold fast. If you have been scrubbing with no real results, the problem is usually the wrong method or product for the type of stain you are dealing with.
Learning how to clean grout in the shower does not require expensive tools or harsh chemicals. The right approach depends on how dirty the grout is, what caused the staining, and how much time you have. This guide walks you through every proven method, from quick weekly fixes to deep-cleaning treatments that remove grout stains that have built up for months.
Ready to learn more? If scrubbing grout is not your idea of a good time, explore professional house cleaning services in Raleigh that handle the hard work for you.
What Makes Shower Grout So Hard to Clean
Grout is porous, meaning it has tiny holes that absorb moisture, soap residue, and body oils every time you shower. That absorption is what causes staining and mold growth over time. Unlike smooth tile, you cannot just wipe grout clean with a damp cloth.
The humidity inside a shower speeds up mold and mildew growth. Mildew is a surface-level fungus that looks gray or white. Mold goes deeper, often appearing black or green. Both thrive in the warm, wet environment of a shower. Knowing which one you are dealing with helps you pick the right cleaner.
| Stain Type | Appearance | Best Treatment |
|---|---|---|
| Soap scum | White or gray film | Baking soda and vinegar |
| Hard water deposits | Chalky white crust | White vinegar or citric acid |
| Mildew | Gray or white fuzzy spots | Hydrogen peroxide or vinegar |
| Black mold | Dark black or green spots | Bleach-based cleaner or oxygen bleach |
| Rust stains | Orange or brown marks | Cream of tartar paste or rust remover |
Tools You Need Before You Start

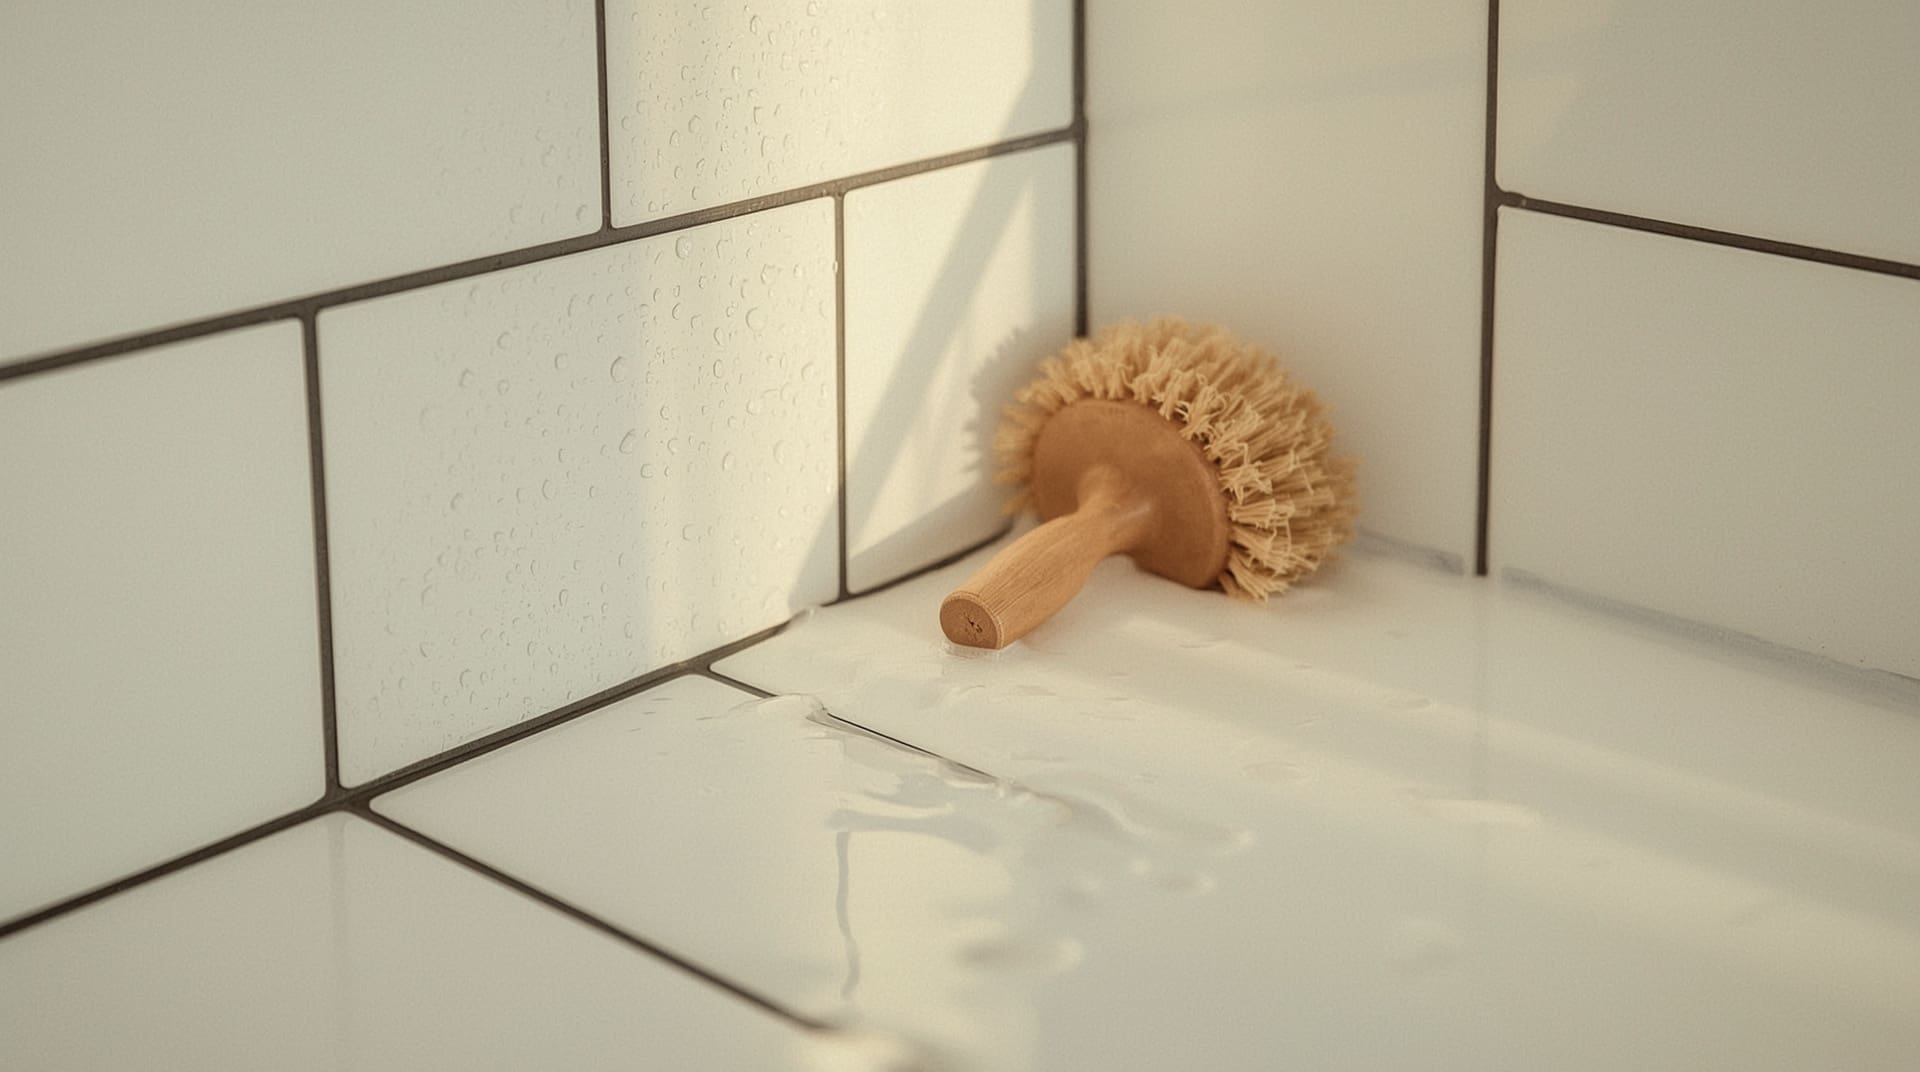
Having the right tools makes a real difference in how well your cleaning works. A stiff-bristled grout brush is the most important item. It fits into the narrow grout lines and scrubs deep without scratching tile surfaces.
Here is a basic supply list to gather before you begin:
- Stiff-bristled grout brush or an old toothbrush
- Spray bottle for applying liquid cleaners
- Baking soda and white vinegar
- Hydrogen peroxide (3% solution from any drugstore)
- Rubber gloves and eye protection
- Microfiber cloths or a sponge
- Optional: steam cleaner for deep cleaning
Avoid steel wool or metal scrapers. They scratch tile glazing and can break apart grout over time, creating more places for mold to grow.
The Baking Soda and Vinegar Method for Everyday Stains
This is the most popular DIY shower grout cleaning method, and it works well for light to moderate soap scum and surface grime. Baking soda is a mild abrasive that lifts debris, while vinegar is acidic and dissolves mineral buildup. Together, they create a fizzing reaction that helps loosen stains from the porous grout surface.
How to Do It Step by Step
- Sprinkle baking soda generously over wet grout lines.
- Spray white vinegar directly over the baking soda. It will fizz immediately.
- Let the mixture sit for 5 to 10 minutes.
- Scrub firmly with your grout brush using short back-and-forth strokes.
- Rinse thoroughly with warm water.
- Dry the area with a microfiber cloth to prevent new moisture from settling in.
This method is safe for most tile types including ceramic, porcelain, and natural stone. For natural stone like marble, skip the vinegar and use a pH-neutral cleaner instead, since acid can etch stone surfaces.
How Hydrogen Peroxide Removes Grout Stains
Hydrogen peroxide is a stronger option for removing grout stains caused by mildew or light mold. The 3% solution sold at pharmacies is strong enough to kill surface fungal growth without damaging most grout or tile types. It also brightens discolored grout noticeably.
How to Use Hydrogen Peroxide on Grout
- Pour hydrogen peroxide into a spray bottle.
- Spray it directly onto stained grout lines.
- Let it sit for at least 10 to 15 minutes. Do not rinse early.
- Scrub with a grout brush.
- Rinse with clean water and dry the surface.
For tougher stains, make a paste by mixing hydrogen peroxide with baking soda until it reaches a thick consistency. Apply the paste directly to stained lines, let it sit for 20 minutes, then scrub and rinse. This paste method is one of the most effective ways to remove grout stains without bleach.
Using Bleach to Tackle Black Mold in Shower Grout
When mold has gone deep into the grout, bleach-based cleaners are often the most effective choice. Chlorine bleach kills mold at the root and whitens dark stains quickly. However, bleach requires careful handling and proper ventilation.
Safety Steps Before Using Bleach
- Open the bathroom window and turn on the exhaust fan before you start.
- Wear rubber gloves and eye protection throughout.
- Never mix bleach with vinegar, ammonia, or any other cleaner. The combination creates toxic fumes.
- Keep the bathroom door open to maintain airflow.
How to Apply Bleach to Grout
- Dilute bleach by mixing one part bleach with three parts water in a spray bottle.
- Spray the solution onto affected grout lines.
- Let it sit for 10 minutes, then scrub with a grout brush.
- Rinse thoroughly several times to remove all bleach residue.
- Dry the surface and ventilate the bathroom for at least 30 minutes after.
Oxygen bleach, sold as a powder you mix with water, is a gentler alternative. It works more slowly but is safer for colored grout and families with sensitivities to chlorine fumes.
Steam Cleaning as a Chemical-Free Deep Clean
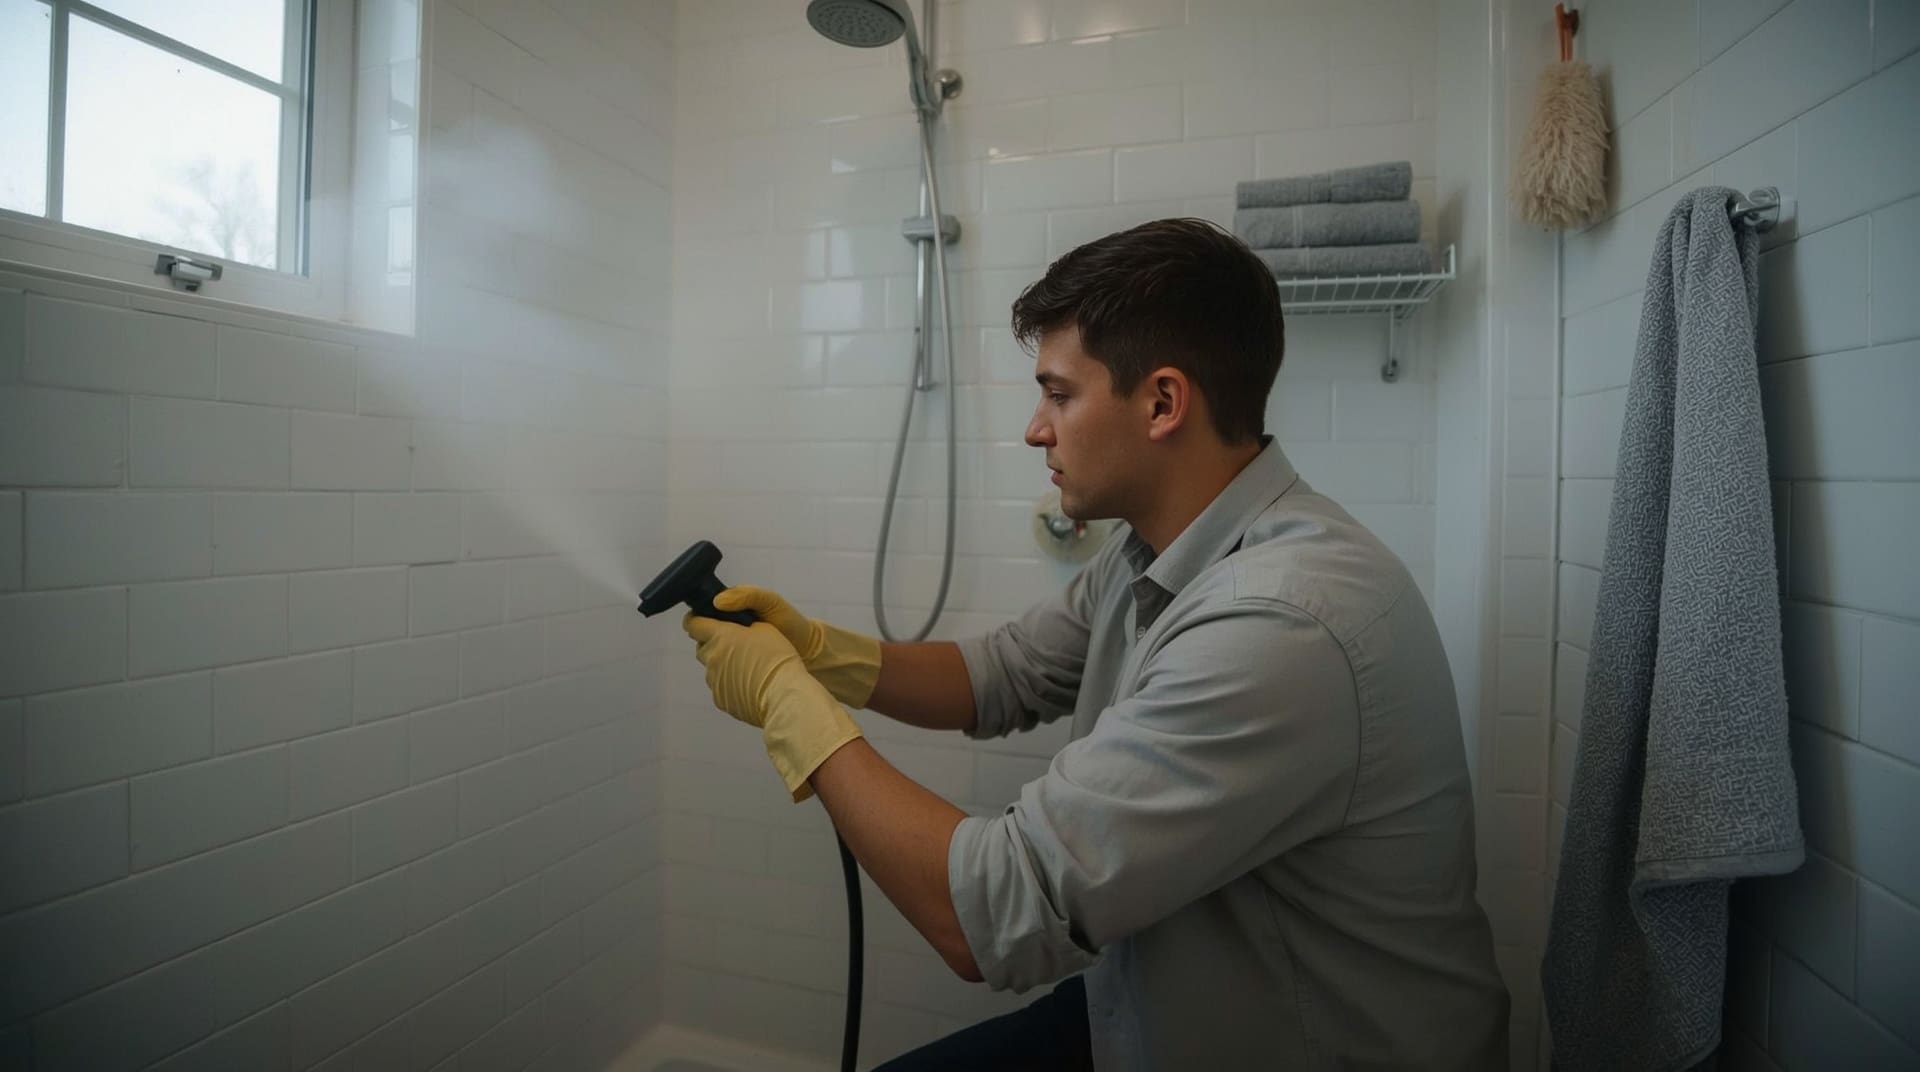
A handheld steam cleaner uses pressurized hot steam to loosen grime, kill mold spores, and sanitize grout without any chemicals. This is an excellent option for households that want to avoid cleaners altogether.
Hold the steam nozzle a few inches from the grout line and move it slowly along the surface. Follow immediately with a stiff brush to lift the loosened debris. The heat from the steam reaches temperatures that kill most bacteria and mold on contact. Steam cleaning works best as a monthly deep-cleaning method paired with regular weekly maintenance.
Building a Shower Grout Cleaning Schedule That Works

Consistency matters more than any single cleaning session. Grout that is cleaned regularly never reaches the point where heavy-duty treatments are necessary. A simple schedule prevents buildup from becoming a major project.
Recommended Frequency by Task
- After each shower: Use a squeegee on tile walls to remove surface water. This one habit dramatically slows mineral and soap buildup.
- Weekly: Spray grout lines with a diluted vinegar solution and do a quick scrub. Rinse and dry.
- Monthly: Do a full baking soda and hydrogen peroxide treatment on all grout in the shower.
- Every 6 months: Inspect grout for cracks, chips, or persistent dark staining. Reapply grout sealer if needed.
Raleigh’s humid summers mean bathroom moisture levels stay higher than in drier climates. Running your bathroom exhaust fan during and for 15 minutes after every shower makes a real difference in how fast mold and mildew return.
How to Seal Grout After Cleaning
Sealing grout is the step most homeowners skip, but it is one of the most important. A grout sealer fills the pores in the grout surface so that moisture, soap, and mold cannot penetrate as easily. Cleaning is dramatically faster when grout is sealed properly.
Apply a penetrating grout sealer after your grout has been deep cleaned and is fully dry. Use a small brush or the applicator tip that comes with most sealers, and work it along each grout line. Wipe away any sealer that gets onto the tile surface. Let it cure for the time listed on the product label, usually 24 to 72 hours, before using the shower again. Reseal every six to twelve months depending on how heavily the shower is used.
Common Shower Grout Cleaning Mistakes to Avoid
Even with the right products, a few common mistakes can slow your results or damage your shower over time. Knowing what not to do saves you time and avoids costly repairs.
- Using too little dwell time: Most cleaners need several minutes of contact with grout before you scrub. Rinsing too soon means the product never fully works.
- Skipping ventilation: Poor airflow during cleaning exposes you to fumes, even from natural cleaners like vinegar.
- Scrubbing with the wrong brush: A soft sponge will not reach into grout lines. Use a stiff-bristled brush every time.
- Mixing cleaning products: Combining bleach with other cleaners, especially vinegar or ammonia, creates dangerous chemical reactions.
- Neglecting to dry the surface: Leaving grout wet after cleaning encourages mold to return faster than before.
Final Thoughts on How to Clean Grout in the Shower
Cleaning shower grout is not complicated, but it does require the right method matched to the right type of stain. Baking soda and vinegar handle everyday buildup well. Hydrogen peroxide tackles mildew. Bleach addresses deep mold. Steam cleaning gives you a chemical-free deep clean that kills bacteria and lifts grime at the same time.
The biggest factor in keeping grout clean long-term is consistency. A quick weekly scrub and good ventilation habits prevent most of the heavy staining that turns grout from white to black. Seal your grout after every deep clean and you will spend far less time scrubbing in the future.
Frequently Asked Questions About How to Clean Grout in the Shower
How often should I deep clean shower grout?
Deep clean shower grout at least once a month using a baking soda and hydrogen peroxide treatment. In humid climates or heavily used showers, every two to three weeks is better. Regular light maintenance between deep cleans makes each session faster and easier.
Can I use vinegar on all types of grout?
White vinegar is safe for cement-based grout used in most tile showers. However, avoid using vinegar on natural stone tiles like marble, travertine, or limestone. The acidity in vinegar can etch and dull the stone surface over time. Use a pH-neutral cleaner on those materials instead.
Why does my shower grout turn black so fast after cleaning?
Black grout usually means mold is growing beneath the surface, not just on it. If your grout keeps darkening quickly, the mold has penetrated deeply and surface cleaning alone will not fully resolve it. Try an oxygen bleach soak, improve bathroom ventilation, and apply a fresh grout sealer after cleaning to slow regrowth.
Is it safe to clean grout with bleach regularly?
Occasional bleach use is fine for tackling serious mold stains, but using it every week can weaken grout over time. Bleach is best reserved for stubborn mold or as a periodic deep-cleaning treatment. For regular maintenance, stick to baking soda, vinegar, or hydrogen peroxide.
When should I re-grout instead of just cleaning?
If grout is cracked, crumbling, or has deep voids that no longer hold together, cleaning will not fix the problem. Damaged grout allows water to get behind tiles, which can cause structural damage. In that case, you need to remove the old grout and apply fresh grout, a process called re-grouting.