Keeping your kitchen appliances looking and working their best doesn’t have to be a huge chore. Sometimes, you just need a good plan to tackle them. We’ll go through how to clean everything from your fridge to your toaster, making those everyday workhorses shine again. It’s about making your kitchen a nicer place to be, and honestly, it feels pretty good when everything is clean.
Key Takeaways
- Regularly clear out expired food from your refrigerator and freezer, then wipe down shelves and drawers.
- Soak oven grates and stovetop knobs in a vinegar and water mix to loosen grime, then tackle tough stains with baking soda.
- Steam clean your microwave’s interior with vinegar and water, and wash the glass plate separately.
- Clean your dishwasher’s filter and run a cycle with vinegar to keep it fresh and working well.
- Wipe down the exteriors of all your kitchen appliances, paying attention to stainless steel and glass components.
Sparkling Up Your Refrigerator and Freezer
Let’s get your fridge and freezer looking and smelling fresh! It’s easy to forget about these workhorses, but a clean fridge means better-preserved food and a nicer-looking kitchen. We’ll break it down into a few simple steps.
Clearing Out and Discarding
First things first, you’ve got to empty everything out. This is the perfect time to do a quick check for anything that’s past its prime. Seriously, that science experiment in the back of the crisper drawer? Toss it. It’s also a good idea to do this right before a big grocery shop so you can restock a nice, clean space.
- Remove all food items.
- Take out shelves and drawers.
- Check expiration dates and discard old items.
Don’t be afraid to be ruthless with expired food. It’s better to throw it out than to have it contaminate other items or make your fridge smell funky.
Wiping Down Shelves and Drawers
Now that it’s empty, grab your cleaning supplies. A simple mix of warm water and a little dish soap usually does the trick. For tougher spots, a solution of equal parts water and white vinegar can help cut through grime. Make sure to get into all the nooks and crannies. Don’t forget to wash any removable shelves or drawers separately in the sink. A quick wipe down of condiment bottles can also make a big difference. You can find more tips on how to deep clean your refrigerator at this guide.
Dusting Those Essential Coils
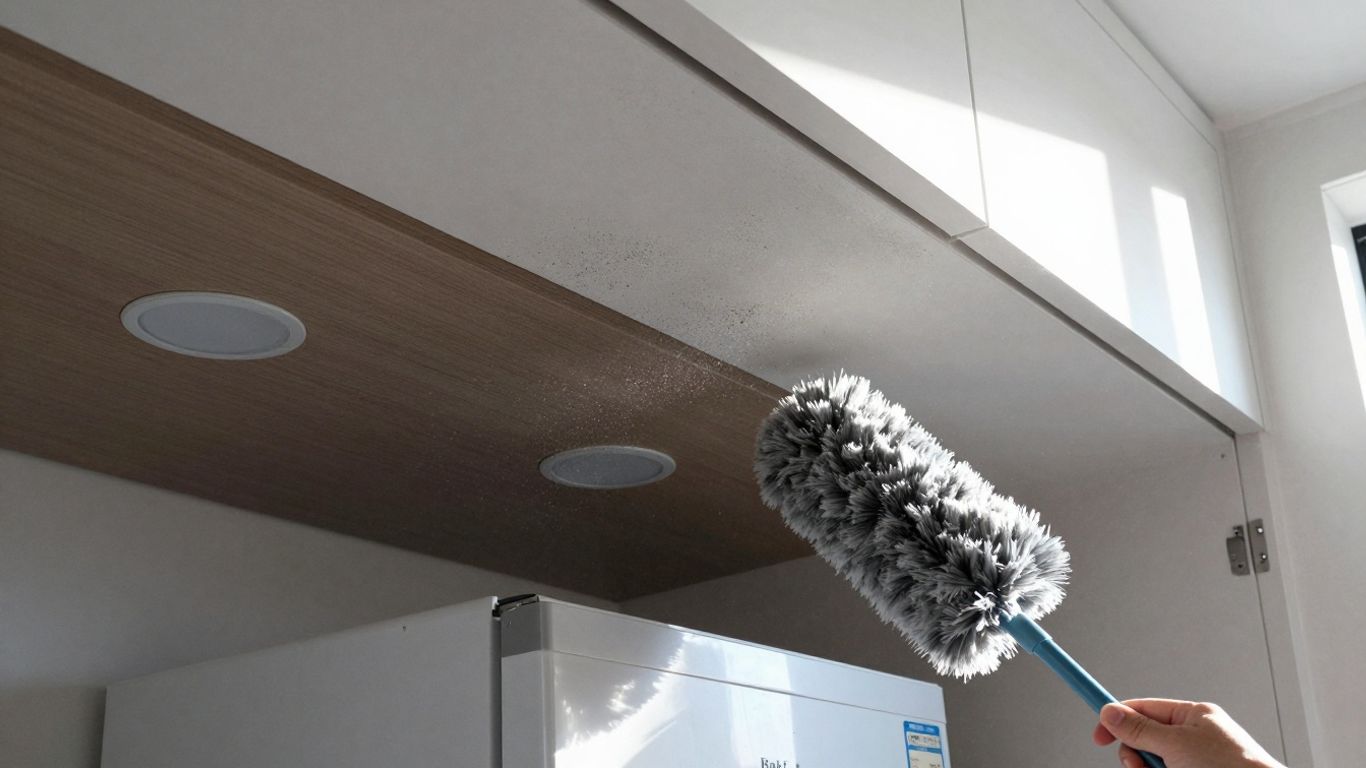
This step is often overlooked, but it’s super important for your fridge’s efficiency. The coils, usually found at the back or underneath, can get covered in dust and pet hair, making your fridge work harder. Carefully unplug your refrigerator before you start. Then, use a vacuum cleaner with a brush attachment or a specialized coil brush to gently remove the dust. Be gentle; you don’t want to bend or damage them. A clean fridge runs better and can even save you a bit on your electricity bill.
Making Your Oven and Stovetop Shine
Let’s talk about tackling that oven and stovetop. These are usually the workhorses of the kitchen, and they can get pretty grimy. But don’t worry, we can get them looking good again.
Soaking Grates and Knobs
First things first, let’s get those removable parts soaking. Pull off your oven racks and stovetop grates. If your stovetop has removable knobs, gently pull those off too. You can place all of these in your sink. Fill the sink with hot water and a good squirt of dish soap. For really tough, baked-on gunk, you might want to add about half a cup of white vinegar to the water. Let them soak for at least a few hours, or even overnight if they’re really bad. This step makes a huge difference in loosening up all that stuck-on food.
Tackling Stubborn Stovetop Stains
While those parts are soaking, focus on the stovetop itself. Spray down the surface with a good all-purpose cleaner or a 50/50 mix of water and vinegar. For any spots that just won’t budge, try making a paste with baking soda and a little water. Apply the paste directly to the stain, spray a bit more vinegar over it, and let it sit for about 10 minutes. Then, use a damp cloth or sponge to wipe it all away. Remember to be gentle, especially if you have a glass or enamel top. Avoid abrasive cleaners or steel wool, as they can scratch the surface.
Inside Oven Deep Clean
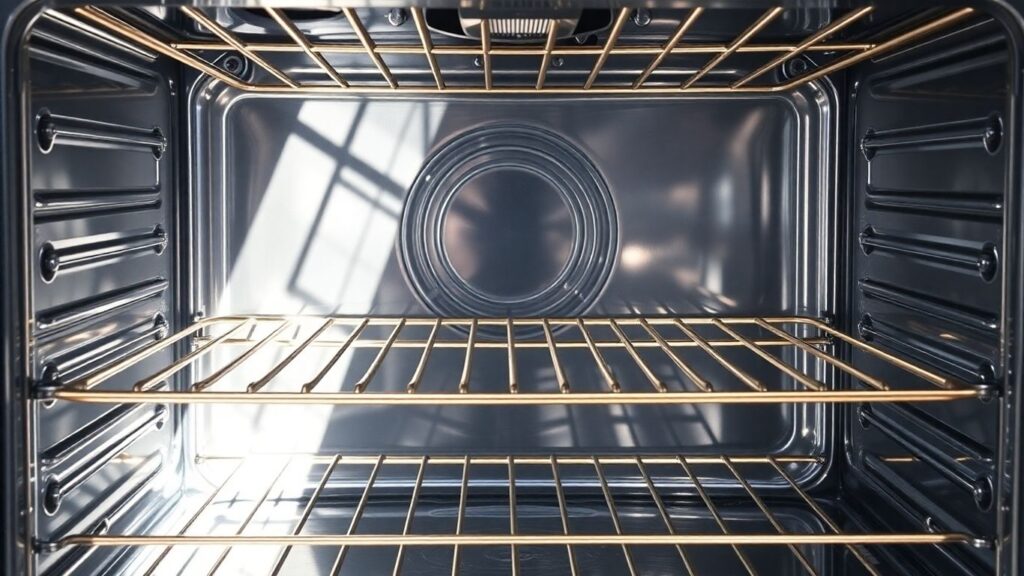
Now for the oven interior. If your oven has a self-cleaning feature, now’s the time to use it! Just follow your oven’s manual. If not, or if you prefer a manual clean, you’ll want to remove those soaked racks. Spray the inside of the oven with your cleaner or vinegar solution. For really tough spots, that baking soda and vinegar paste can work wonders here too. You might need a bit of elbow grease and a non-abrasive scrub pad or an old toothbrush to get into corners. Once you’ve scrubbed everything down, wipe it clean with damp cloths. Leave the oven door ajar for a bit afterward to let it air out and dry completely.
Refreshing Your Microwave
Microwaves can get pretty gross, pretty fast, right? All those little splatters can bake on and become a real pain to scrub off. But don’t worry, we’ve got a simple way to get yours looking like new again.
Steaming Away Interior Grime
This is the easiest part, honestly. Grab a microwave-safe bowl and fill it with about a cup of water. You can add a tablespoon or two of white vinegar or even some lemon slices to the water – it helps cut through grease and leaves a nice smell. Pop that bowl into the microwave and heat it on high for about 3 to 5 minutes, or until the water is steaming and the window looks foggy. Let it sit with the door closed for another 5 minutes after it stops. The steam loosens up all that dried-on food. Then, just open the door and wipe the interior down with a damp cloth or sponge. Most of the gunk should come right off. For any really stubborn spots, you can make a paste of baking soda and a little water, apply it to the spot, let it sit for a minute, and then wipe it away. It’s a gentle way to tackle tough messes without harsh chemicals. You can find more tips on using baking soda for cleaning here.
Washing the Glass Plate
While the steam is doing its thing, take out the glass turntable plate. Most of these are dishwasher safe, so you can pop it in with your regular dishes. If you don’t have a dishwasher or prefer to hand wash, just give it a good scrub in the sink with warm, soapy water. Make sure it’s completely dry before you put it back in the microwave. It’s amazing how much cleaner the whole inside looks with just a clean plate.
Exterior Wipe Down
Don’t forget the outside! Give the exterior a good wipe-down with a damp cloth. For tougher grime or greasy fingerprints, a little all-purpose cleaner sprayed onto the cloth (never directly onto the microwave, especially near the control panel!) works wonders. If you have a stainless steel model, a dedicated stainless steel cleaner will help keep it looking shiny and streak-free. Pay attention to the door handle and the control panel – sometimes those get the grimiest. Just a quick wipe with a damp cloth and then dry it off is usually enough for the controls. Avoid abrasive cleaners or anything with ammonia, as they can damage the finish.
Revitalizing Your Dishwasher
Let’s be honest, the dishwasher is a bit of a mystery box. You load it up, press a button, and hope for the best. But over time, gunk can build up, leaving your dishes less than sparkling and your machine smelling… well, not so fresh. It’s time to give this workhorse some attention!
Cleaning the Filter
This is probably the most important step, and the one most people skip. The filter catches all the food bits, so it can get pretty gross. Don’t skip this!
- Locate the filter. It’s usually at the bottom of the dishwasher, under the lower rack.
- Carefully remove it. Most filters twist or pull out.
- Rinse it under hot running water. Use a soft brush (an old toothbrush works great) to gently scrub away any stuck-on food.
- If it’s really grimy, a little dish soap can help.
- Put it back securely. Make sure it’s locked in place so it can do its job.
Running a Vinegar Cycle
Vinegar is a fantastic natural cleaner and deodorizer. Running a cycle with vinegar helps break down any mineral deposits and lingering odors.
- Pour about a cup of white distilled vinegar into a dishwasher-safe bowl or mug.
- Place the bowl on the top rack of your empty dishwasher.
- Run the dishwasher on a hot water cycle or a quick wash setting.
This simple step can make a surprising difference in how clean your dishes come out and how fresh your dishwasher smells.
Wiping Down the Interior
Once the vinegar cycle is done, it’s time for a quick wipe-down of the inside. This gets rid of any loosened grime.
- Use a damp microfiber cloth to wipe down the inside walls, the door, and the seals. Pay attention to any areas where you see residue.
- For tougher spots, you can use a little all-purpose cleaner on your cloth, but make sure it’s safe for your dishwasher’s interior. Always check your manual if you’re unsure.
- Don’t forget to wipe down the racks too! Sometimes food particles get stuck on them.
Bringing Small Kitchen Appliances Back to Life
Don’t forget about those handy helpers that make our mornings brighter and our meals easier! Your coffee maker, toaster, blender, and other small gadgets deserve a little TLC too. Giving them a good clean not only makes them look better but also helps them run more smoothly and last longer. It’s really not that hard, honestly.
Cleaning Your Coffee Maker
For drip coffee makers, start by unplugging it, of course. Take out the carafe and the filter basket. Wash these in warm, soapy water. Then, fill the water reservoir with a mixture of equal parts white vinegar and water. Place a paper filter in the basket and run a brew cycle. Once it’s done, discard the vinegar-water and run a couple of cycles with just plain water to rinse out any vinegar smell. This helps get rid of any mineral buildup inside.
Refreshing Your Toaster
First things first, unplug your toaster. Gently shake out any loose crumbs. Most toasters have a little tray at the bottom that slides out – pull that out and empty it into the trash. You can wash this tray with warm, soapy water. For the outside, a damp cloth usually does the trick. If it’s really grimy, a little all-purpose cleaner on the cloth works well, just make sure not to get any liquid into the slots. A clean toaster means better-tasting toast!
Wiping Down Other Gadgets
Blenders, food processors, and stand mixers can get pretty messy. For blenders and food processors, after removing the blades (carefully!), wash the pitcher or bowl and lid in warm, soapy water. For the base, just use a damp cloth to wipe it down. Make sure everything is completely dry before putting it back together. For stand mixers, wipe down the main body with a damp cloth. If you have attachments, check their specific cleaning instructions – some are dishwasher safe, others need a good hand wash.
Exterior Appliance Care
Now that the insides of your appliances are sparkling, let’s not forget the outside! Keeping the exteriors clean not only makes your kitchen look great but also helps maintain the appliances themselves. It’s a simple step that makes a big difference.
Gentle Exterior Wipes
For most appliance exteriors, a soft, damp cloth with a little mild soap is all you need. Gently wipe down the surfaces, paying attention to any smudges or food splatters. Always wipe in the direction of the grain on stainless steel surfaces to avoid scratches. Avoid abrasive cleaners or scrubbing pads, as these can damage the finish. For control panels, be extra careful: use a barely damp cloth and dry immediately. Never spray cleaner directly onto these areas.
Shining Stainless Steel Surfaces
Stainless steel can be a bit tricky, but with the right approach, it gleams. After a gentle wipe-down with a damp cloth and mild soap, use a separate clean, soft cloth to dry. For that extra shine, you can use a dedicated stainless steel cleaner. Remember to always follow the grain of the metal. A little bit of elbow grease in the right direction goes a long way to make your stainless steel appliances look brand new. You can find some great tips for cleaning various appliance types here.
Cleaning Glass Components
Many appliances have glass elements, like oven doors or microwave windows. For these, a glass cleaner or a simple mixture of water and vinegar works wonders. Spray the cleaner onto a soft cloth, not directly onto the glass, especially if it’s near a control panel. Wipe the glass until it’s streak-free. For oven doors, you might need to carefully remove the glass panel for a thorough cleaning, but always consult your appliance’s manual first to see if this is recommended for your specific model.
Keep your outdoor appliances looking great with simple cleaning tips. Regular care prevents rust and keeps them working well. For a spotless shine every time, check out our expert advice on our website.
You Did It!
So, there you have it! Your kitchen appliances should be looking and smelling much better now. It might seem like a lot of work at first, but keeping up with it regularly makes a big difference. Plus, a clean kitchen just feels so much nicer to be in, right? Now you can get back to enjoying your meals without worrying about any hidden gunk. Give yourself a pat on the back – you’ve earned it!
Frequently Asked Questions
How often should I deep clean my kitchen appliances?
It’s a good idea to give your appliances a good deep clean about once a month. This helps keep them working well and prevents tough messes from building up.
What are the best basic cleaning supplies for appliances?
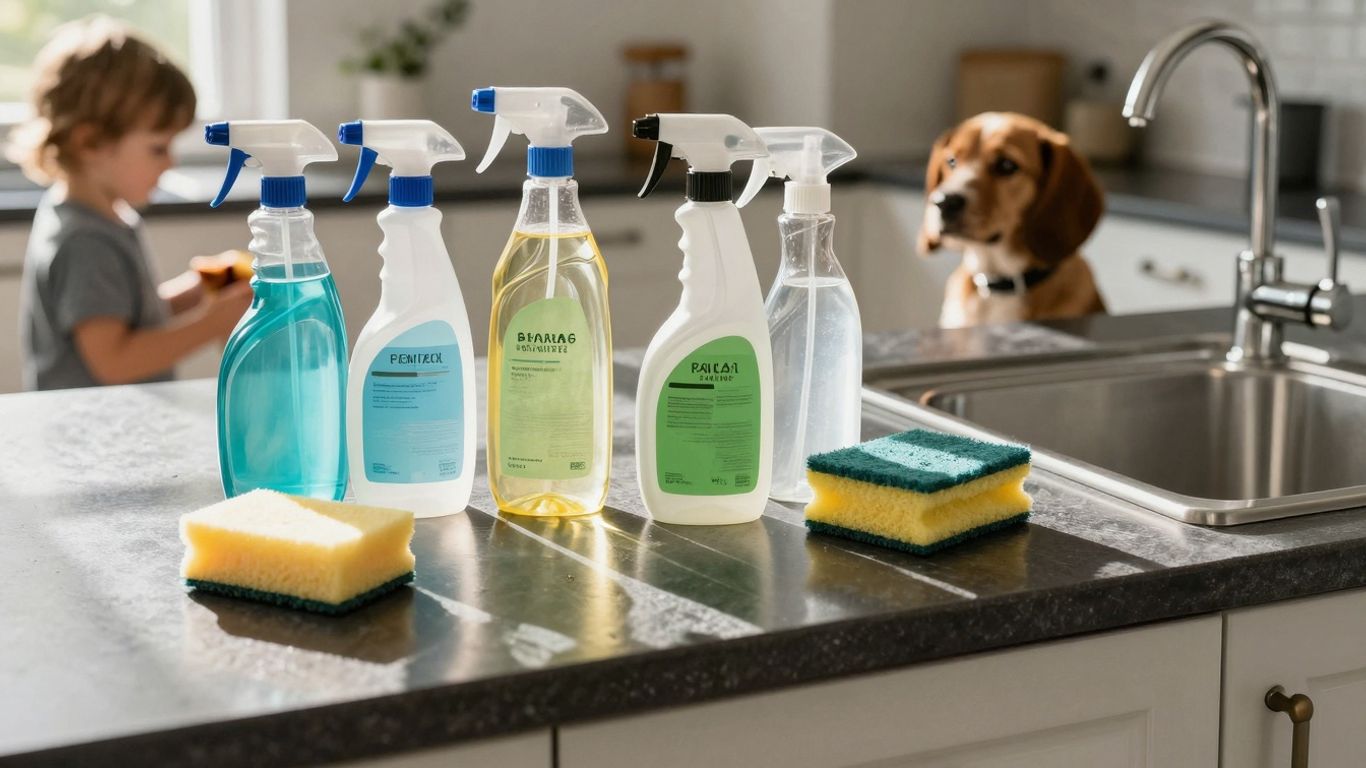
You’ll want a few things like soft cloths (microfiber is great!), a scrub brush, an all-purpose cleaner, and white vinegar. Baking soda is also handy for tougher spots.
How do I clean my refrigerator coils?
You’ll need to pull out your fridge a bit to get to the coils, usually located at the back or bottom. Gently dust them with a soft brush or cloth. This helps your fridge run more efficiently.
What’s the easiest way to clean a greasy stovetop?
For greasy messes, a mix of vinegar and water works wonders. For really stuck-on food, try sprinkling baking soda on the spot, then spray with vinegar and let it sit for a bit before wiping it away.
How can I make my stainless steel appliances shine?
For stainless steel, it’s best to wipe in the direction of the grain. A spray made of vinegar and water is excellent for removing smudges and making them sparkle. Just be sure to use a soft cloth.
Are there any special steps for cleaning a toaster?
Yes! Always unplug it first. Don’t forget to pull out and clean the crumb tray regularly. A quick wipe-down of the outside with a damp cloth and a little vinegar can make it look like new.


